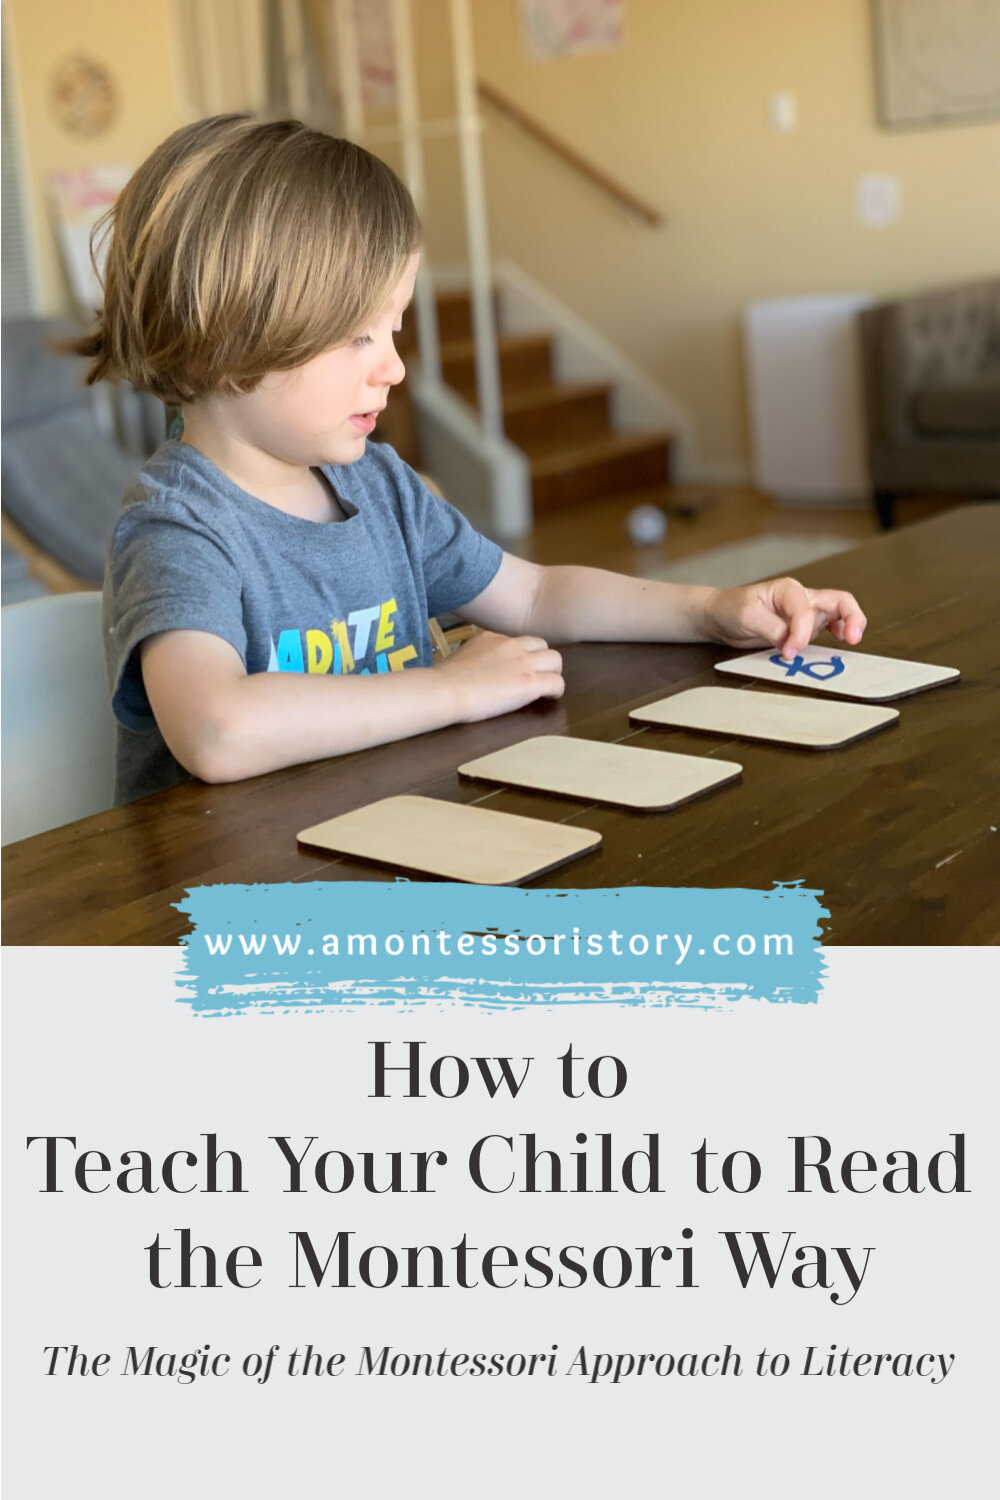
How to Teach Your Child to Read the Montessori Way

How to Teach Your Child to Read the Montessori Way

*This post may contain affiliate links at no cost to you.

Teaching children to read can be a daunting task for parents, especially for those parents choosing to homeschool. There are so many methods, and how is anyone supposed to know which way is best?

Through much study on the topic, it’s clear to me that teaching phonics is imperative, and I have seen first-hand that the Montessori approach to literacy works like magic! The multi-sensory Montessori language materials used to teach phonics are a true highlight of the method. It’s fun, simple, and effective.

Now, to be transparent: I am an AMI-trained Montessori teacher for the elementary age-group (ages 6-12), and the majority of this work is typically done in the Children’s House with the 3-6 age-group. This is because Dr. Montessori observed that all children undergo a sensitive period for language development that occurs from birth through 6 years of age.

As a homeschooling mom, I’m currently guiding my 4-year-old down this path to literacy, and it’s an exciting road for both of us! I’m happy to share what knowledge I have and walk you through the basics of the Montessori approach to reading. Or if you’re more interested in Montessori activities for the wee, littlest kiddies (birth to age 2), you might enjoy my earlier post, Language Development with a 1-Year Old.

Now, let’s get started!

First, develop A Strong Phonological Awareness.

Phonological awareness is the ability to identify the sounds and patterns that make up our spoken language. It covers many aspects of spoken language including the awareness of rhyme and alliteration, the ability to count syllables, the capacity to identify the onset and rime of words, and the ability to hear each individual sound that makes up the words in our language, which is known as phonemic awareness.

A poor phonological awareness puts a child at risk for difficulties with reading, so it’s extremely important for parents to start by introducing games and activities that promote this set of skills.

Read Nursery Rhymes and and Sing silly Songs

You can begin reciting, reading, and singing nursery rhymes from day 1. Really, it’s never too early.

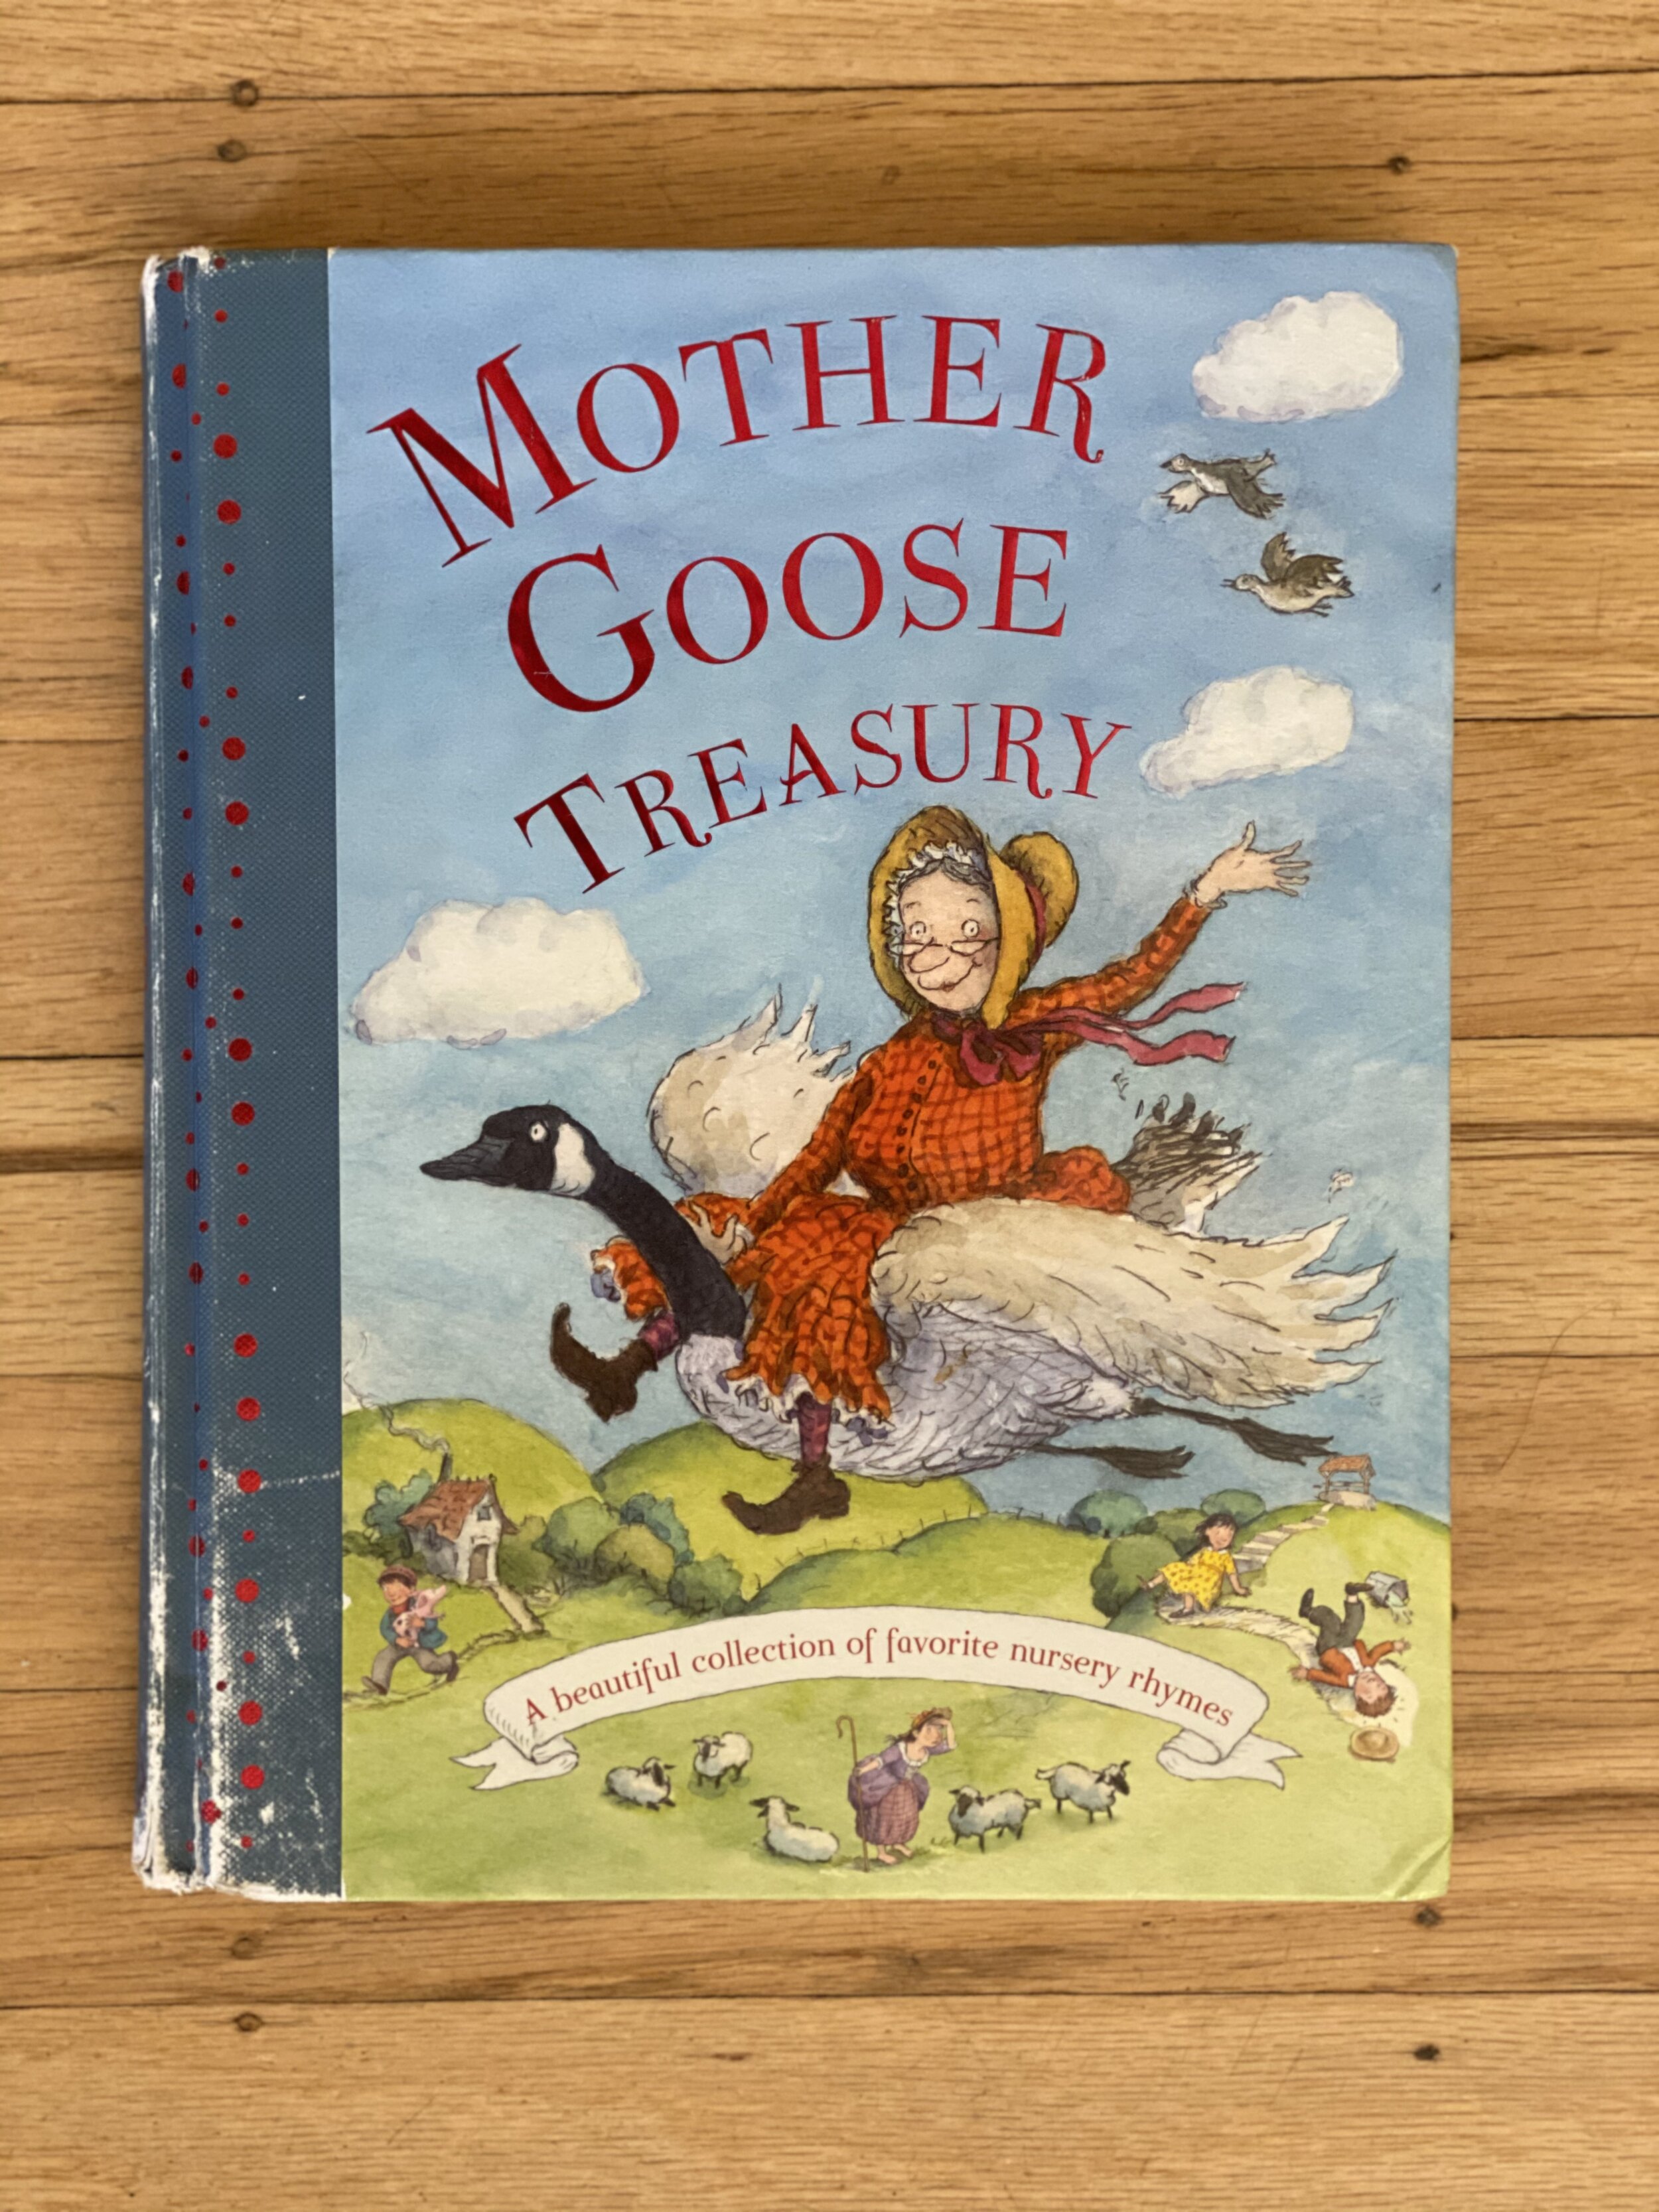
I bought this lovely collection of the classic Mother Goose nursery rhymes before I ever had a child. I saw it at a store and just knew that it would one day be a well-loved treasure in my home. It includes all the classics like “Jack and Jill” and “Humpty Dumpty” and “Hickory Dickory Dock” and “Hey Diddle Diddle” and many more.

Mother Goose Nursery Rhymes

When thinking back on my own journey toward literacy, I don’t have any memory of being explicitly taught to read as a child. I do, however, have childhood memories of reading and reciting nursery rhymes. Today I can recall many of these poems without a second thought, and I believe they provided me with a strong phonological foundation that made learning to read a much easier task than it otherwise might have been.

So read, recite, and sing nursery rhymes often. Make it a bedtime ritual that you continue until your child knows these poems and songs by heart.

Another classic book series to read often throughout early childhood to help attune a child to rhyming words is the ever-popular Dr. Seuss collection.

I’ve been reading these books to Oliver since birth, but around 3.5 years old is when he truly started to hear the rhymes. That’s when the infatuation with Dr. Seuss books really began for him. It was also around this time that he started spontaneously coming up with rhyming words on his own: “Hey mom! Broom and zoom!”

And, finally, sing ALL THE SONGS! Seriously, all the kid songs you can think of. Sing them with your child every day. The Hokey Pokey, The Wheels on the Bus, Twinkle Twinkle Little Star, Skip to My Lou, Mary Had a Little Lamb. The list is never-ending, and they all help children to pick up on the sounds of the English language. Sing them!

“The Name Game” (or as we call it “Banana-fana”) is a much-loved song in our home. When I first introduced it to Oliver, I just thought, “Oh, he’s going to love this silly song!” But as we sang it almost daily over the course of this past summer, it hit me that this song is ALL ABOUT phonemic manipulation. Phonemic manipulation is the ability to change, modify, or move the individual sounds in a word. “The Name Game” is a great song for practice in substituting the beginning sound in words or names.

Ted, Ted bo Bed

Banana-fana fo Fed

Fee-fi-mo Med

Ted!”

Sally Sally bo Bally

Banana-fana fo Fally

Fee- fi-mo Mally

Sally!”

I mean really, this is just the perfect silly song to sing with preschoolers and kindergartners.

Play the Montessori Sound Games

Sound Games are how phonemic awareness is taught in the the Montessori classroom. These games are meant to isolate the individual sounds that make up a word.

Sound Games can start around age 2 or when a small child is talking fluently, and you can continue playing them with older children. I still play them often with my 4-year-old!

The Sound Games are a version of the game “I Spy” that focuses on sounds instead of color.

To play with your child, you will lay out tiny objects on a rug. The objects can be anything––an animal, a spoon, a bell. Any objects. At our house, we use what’s available, and we don’t have a stockpile of tiny objects like you might expect to find in a Montessori classroom.

Instead, sometimes we use our Schleich animal figures and sometimes we use object photo cards. We have two sets of realistic photo cards. One set came in these Alphabet Soup Sorters from Learning Resources, and the other set––the Sound Game Cards––are from Miss Rhonda’s Readers.

When you try this game for the first time, you may start with just one object. Later try two objects. When the game becomes familiar, you might use 4-5 objects at a time.

Montessori sound game

Level 1 of the “I Spy” game focuses on the initial sound in words.

You say: I spy with my little eye something that starts with /p/.

The child picks up the object that starts with /p/––the pig.

Choose another object.

You say: “I spy with my little eye something that starts with /v/.

The child picks up the object that starts with /v/––the van.

If the child picks up the wrong object, you can say:

You found the one that starts with /p/. Can you find the one that starts with /v/?

Do this until all the objects on the rug have been found.

Montessori Sound Games

Level 2 of the “I Spy” game focuses on the ending sound or the final sound in a word.

This can be tricky for children at first. So instead of just asking for the ending sound, you can ask for the beginning AND ending sound.

You say: I spy with my little eye something that begins with /p/ and ends with /g/.

The child should find the pig.

Do another: I spy with my little eye something that begins with /t/ and ends with /er/.

The child should find the tiger.

Montessori Sound Games

Level 3 of the “I Spy” game focuses on helping a child to hear all of the sounds in a word. This is when you will say each individual sound aloud that makes up a word, and your child will blend them together to construct the word you have in mind.

You can say: I spy with my little eye a /f/ /o/ /x/.

The child should find the fox. Have the child repeat all the sounds she hears in the word.

Choose another object.

You can say: I spy with my little eye a /f/ /i/ /sh/.

The child should find the fish. Ask her to tell you all the sounds she hears in the word.

Hearing a word and having the ability to break it down into its individual sounds is called segmenting. Hearing individual sounds and having the ability to join them together to construct a whole word is called blending. These are two essential skills that all children need to develop before they will be able to read or write. In this last level of the Sound Games, your child will practice each of these skills.

Next, introduce Phonics.

Phonics is a method of literacy instruction in which each written letter or group of letters is connected to a specific sound that we use when we speak.

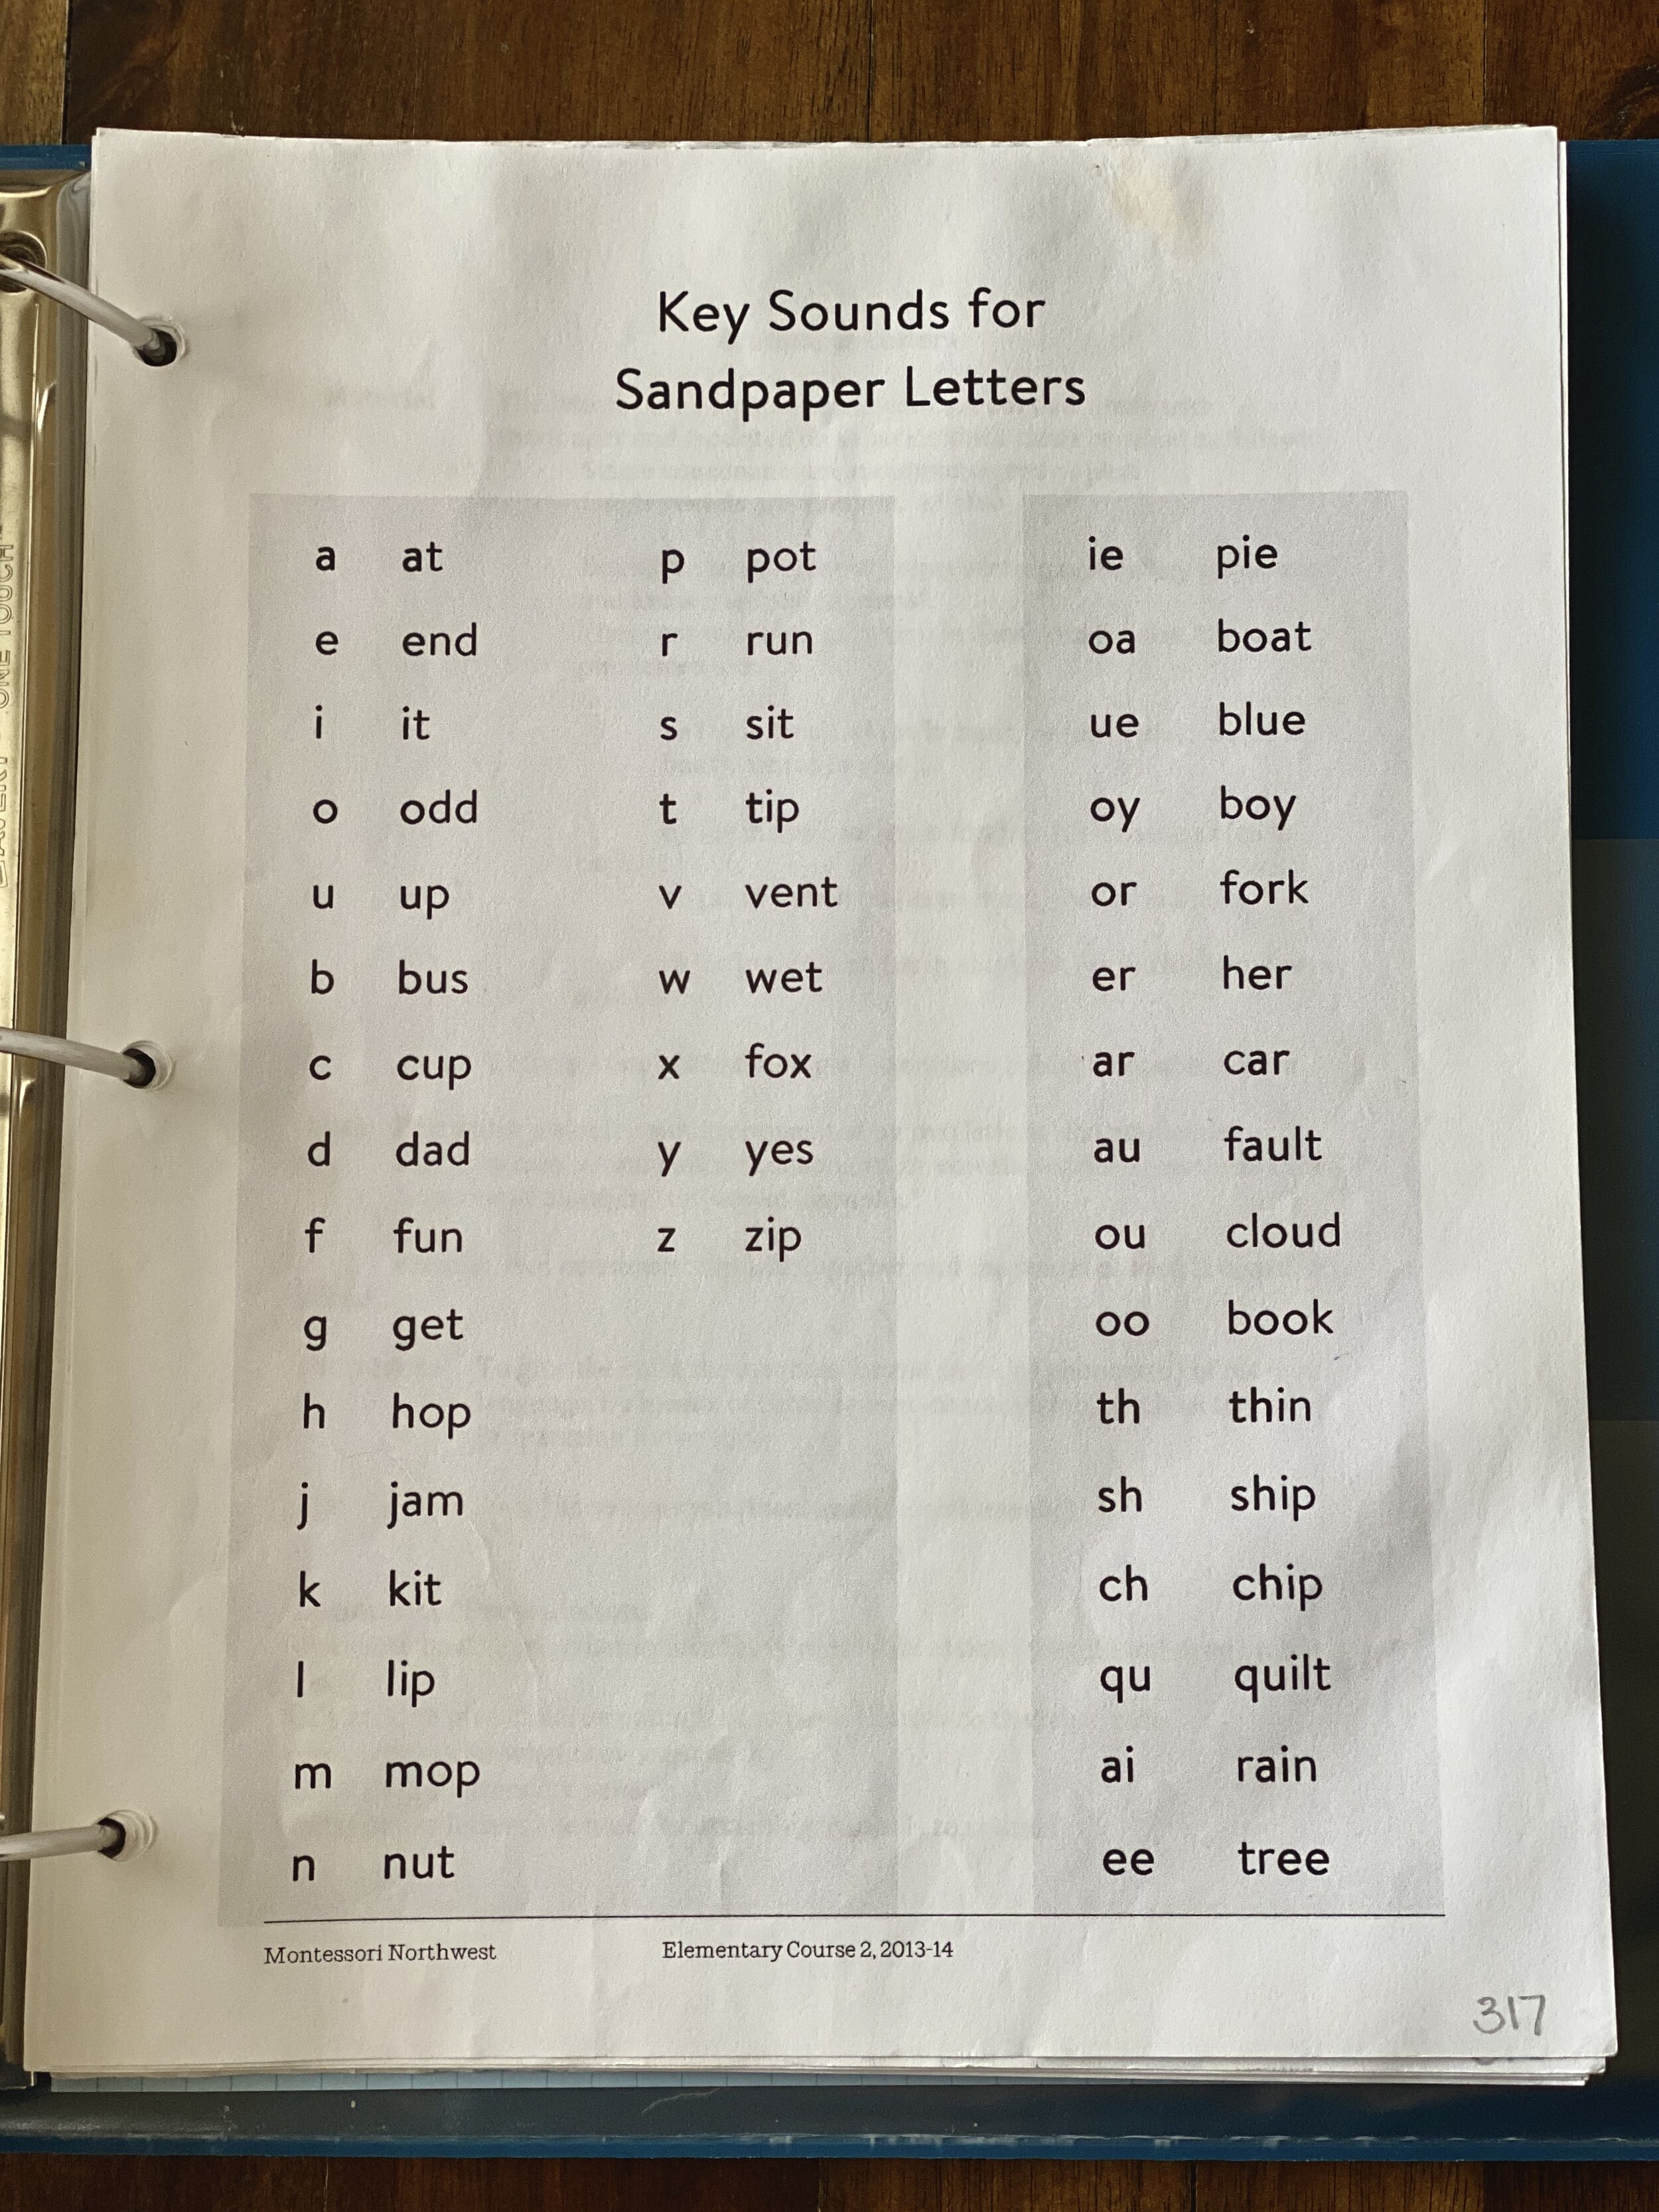
In order to read, your child must know her letter sounds. This is the time to introduce all 25 single-letter phonograms as well as the 16 double-letter phonograms. In Montessori education, this is done with the sandpaper letters.

These are the Key Phonograms that you’ll want to introduce with the Sandpaper Letters.

These are the Key Phonograms that you’ll want to introduce with the Sandpaper Letters.

Sandpaper Letters

These are one of my absolute favorite Montessori materials. Sandpaper Letters are pure Montessori magic! I’m convinced that there is no better way to introduce the written letter and its sound to a child.

This work can start around age 3 or 4, as soon as a child shows interest. He should have had much practice with the Sound Games first. Older children who are still learning their letter sounds can begin right away.

Here’s how to do it:

You’ll want to choose 3 or 4 new phonograms at a time and introduce the Sandpaper Letters to your child with a 3-period lesson. There’s no need to go in alphabetical order. Just choose a few that each look very different to make it easier for your child. It’s also helpful to include a vowel in the set.

Check out this post from North American Montessori Center to read detailed instructions on how to give a Three Period Lesson with the Sandpaper Letters. It also explains a fun extension to the work with the Sandpaper Letters, the “Knock Knock, Who’s There?” game.

After you’ve introduced many of the single-letter phonograms, you can start including the double-letter phonograms into the lessons as well.

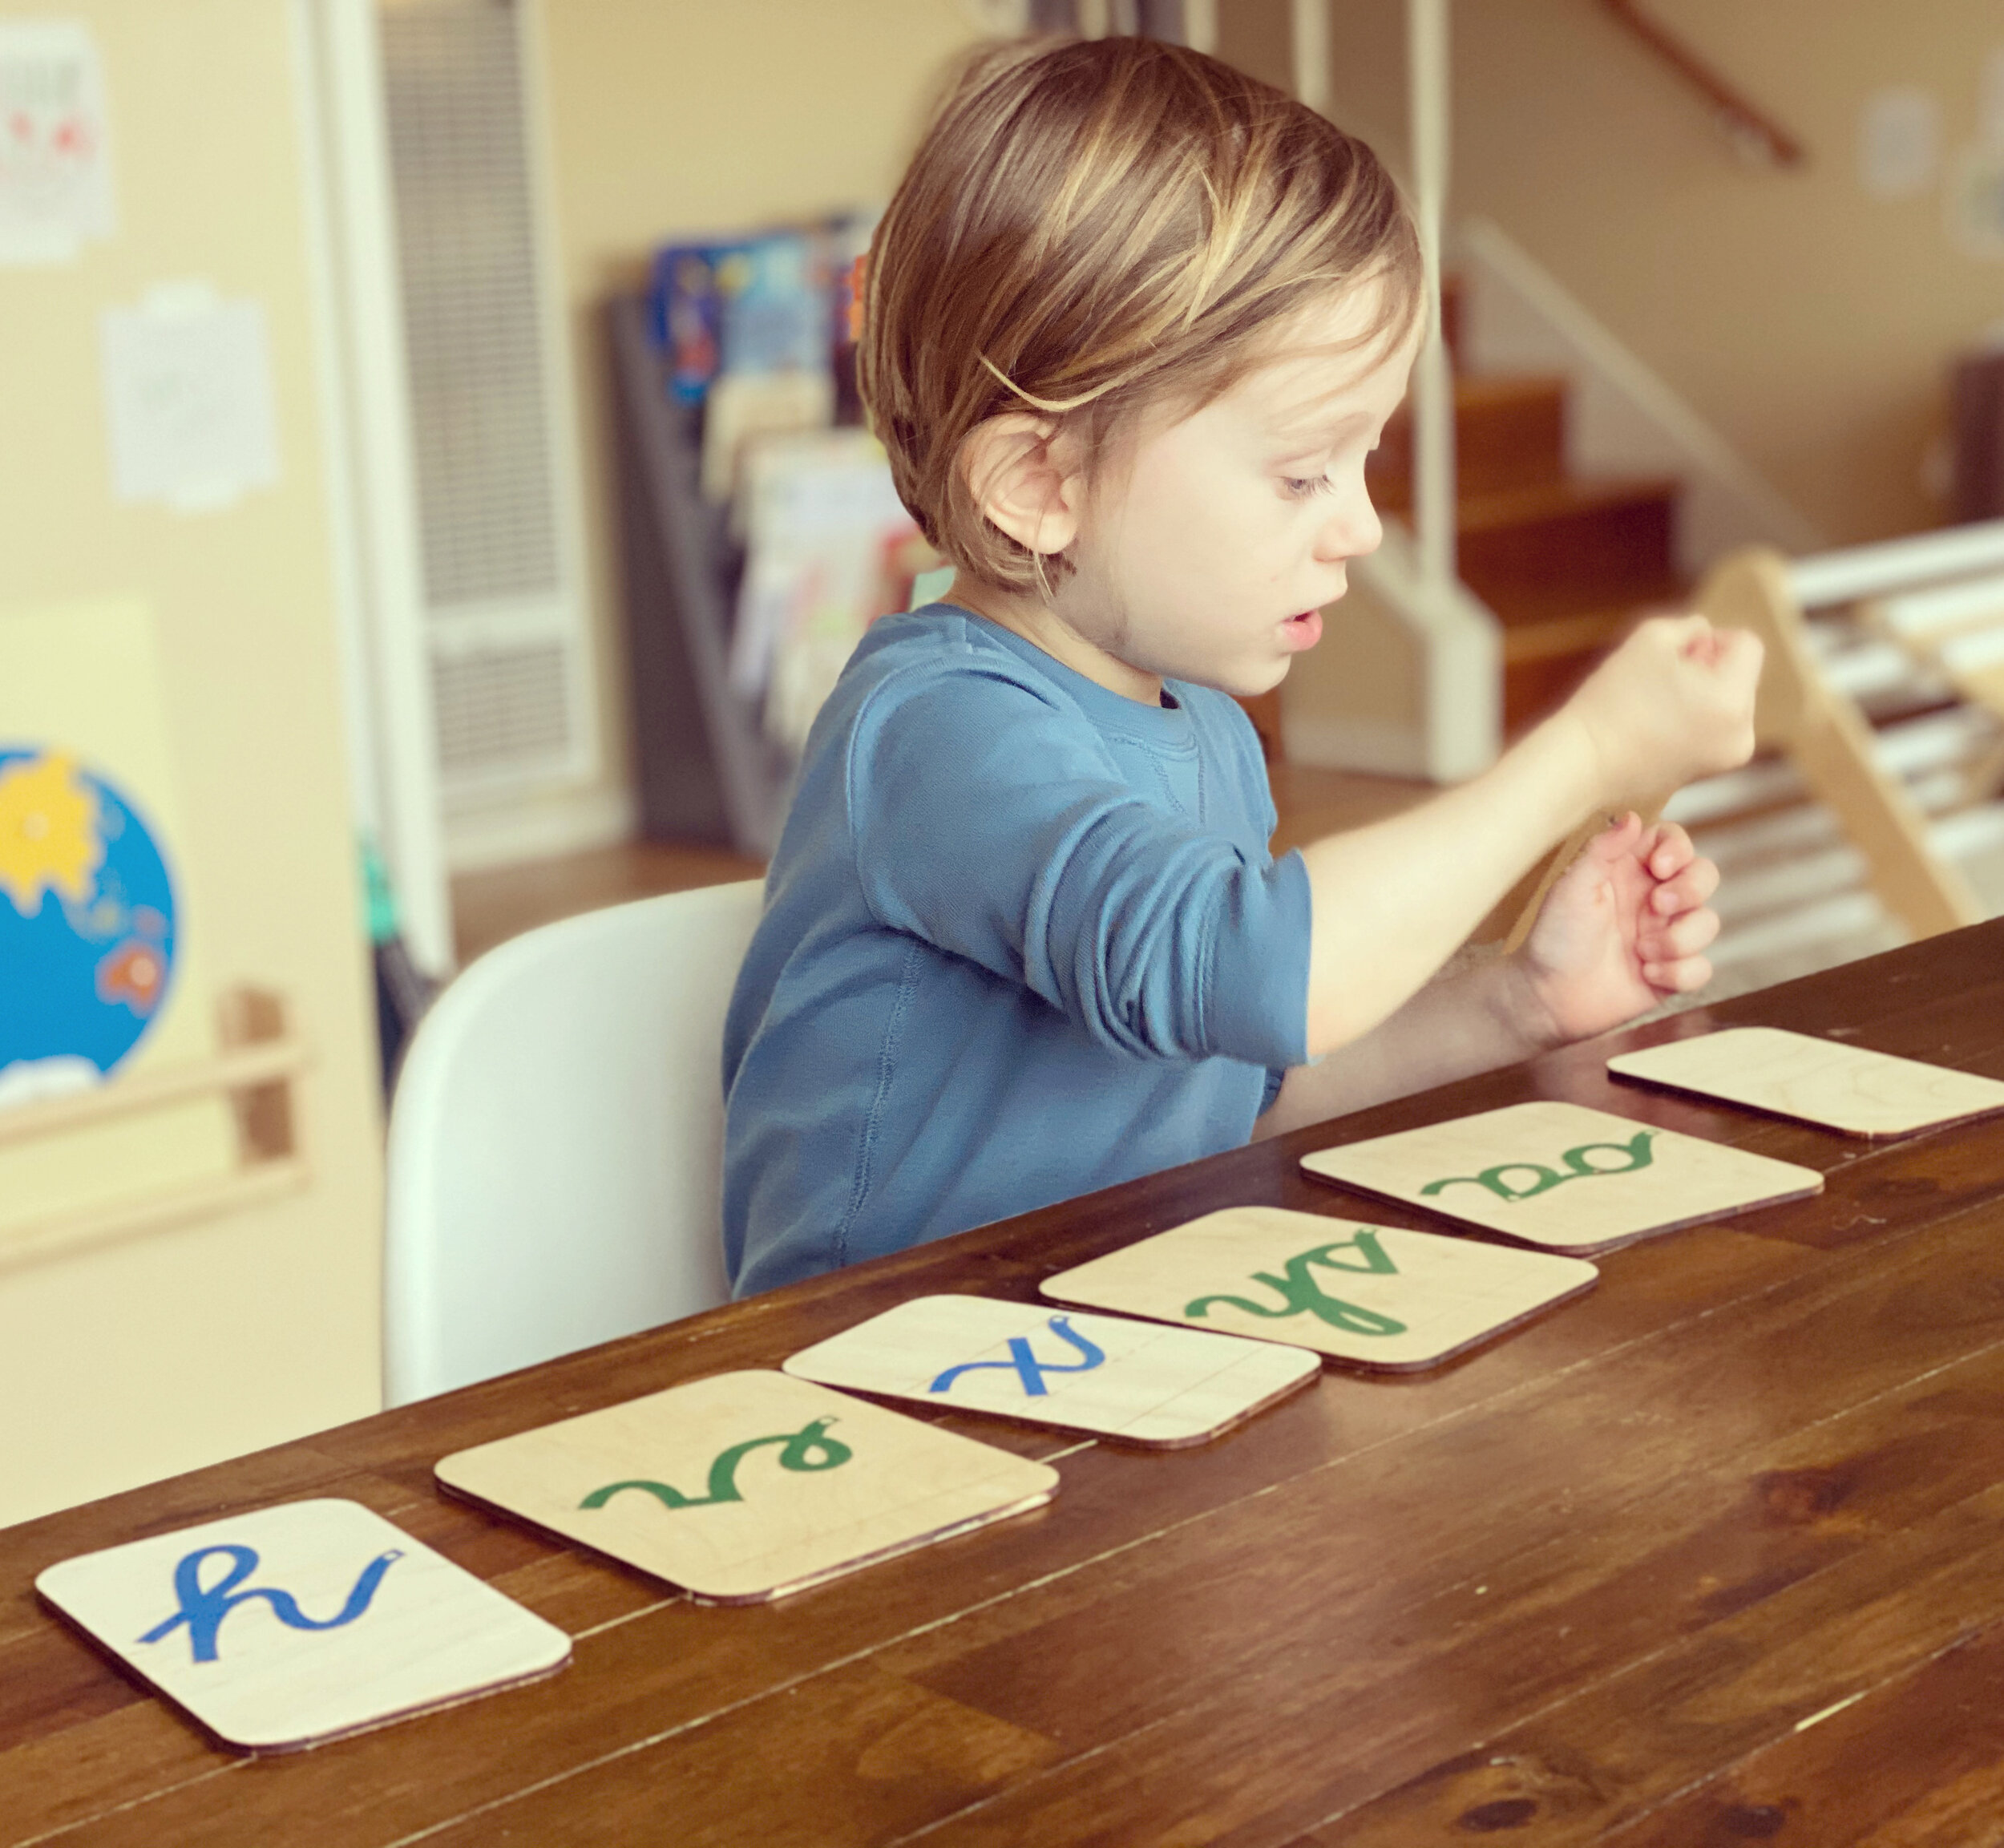
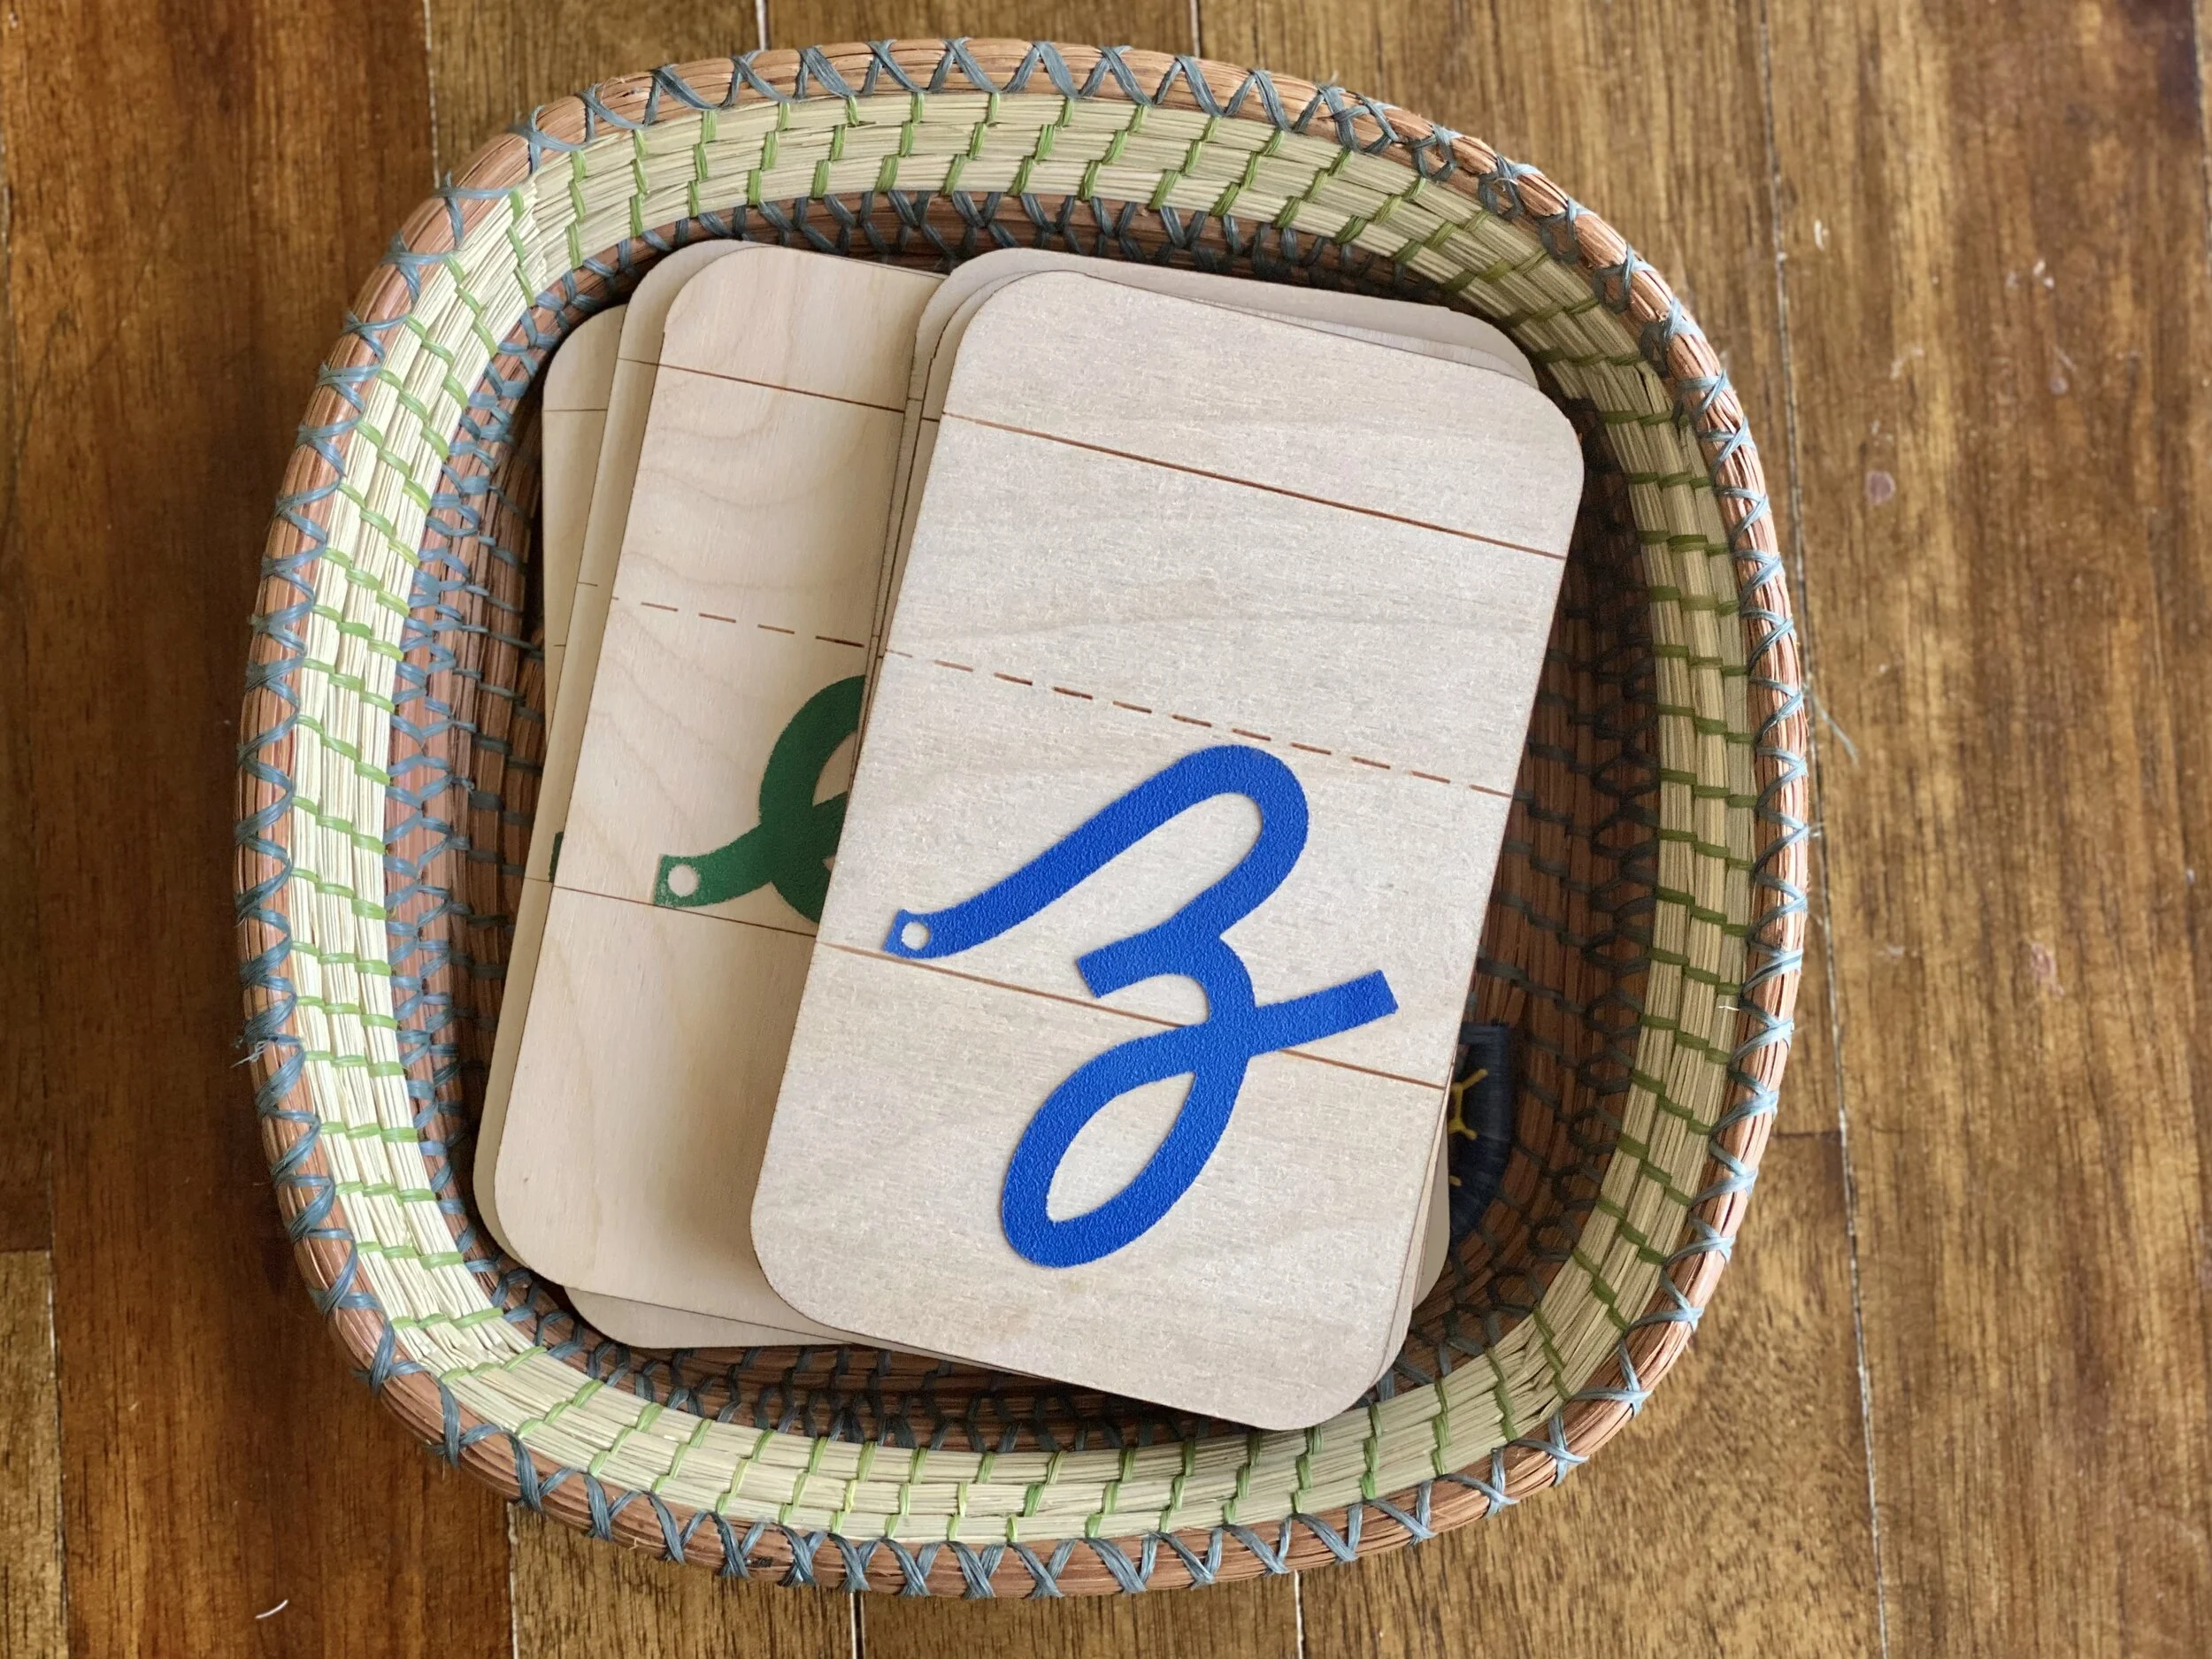
These cursive sandpaper letters were purchased from Logic of English.

These cursive sandpaper letters were purchased from Logic of English.

A game of “Knock Knock, Who’s There?” with a mix of single-letter phonograms and digraphs.

A game of “Knock Knock, Who’s There?” with a mix of single-letter phonograms and digraphs.

This beautiful set of Sandpaper Letters that I use was purchased from Logic of English. I chose to purchase this set, in particular, because I like the Logic of English cursive font, and I appreciate the lines and the starting points. They are handmade by Michele at Polliwog Learning Products. You can also find her products for sale in her Etsy store, which is where I ordered the double-letter Sandpaper Letters. These Sandpaper Letters are beautiful and high-quality. I absolutely recommend her products!

sandpaper letters

Review through Games and Movement! Make phonics fun!

It’s important to engage the whole body through movement and play as a method of review in phonics instruction. Not only do fun and memorable games help a child to recall the information he has recently learned, but these experiences also help him to store that information in his long-term memory.

I’ve gotten so many great game ideas from the Logic of English curriculum (Foundations A). This curriculum is extremely aligned with the Montessori approach to literacy. I don’t use it in its entirety, but I use the games and activities as a supplement to our work. We LOVE them!

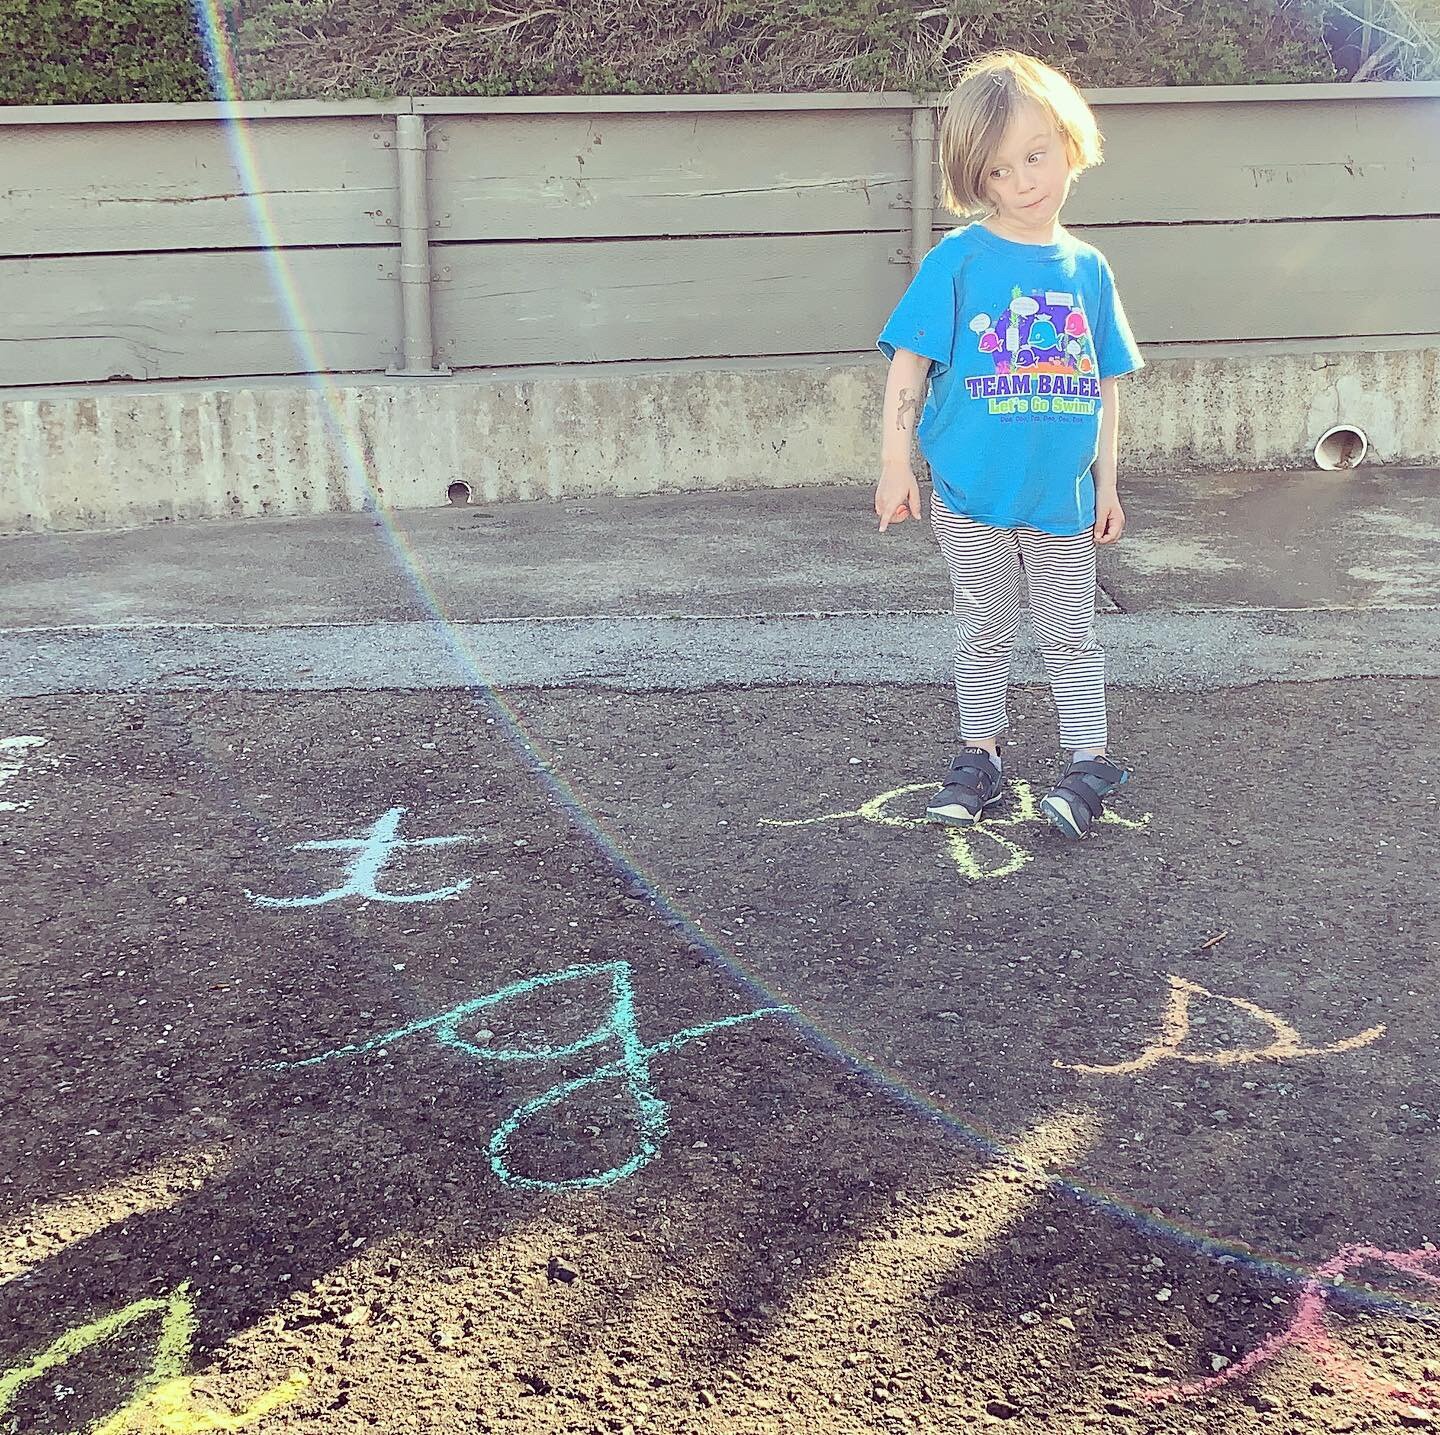
One example of a game we’ve enjoyed playing is Phonogram Hop. For this game, I write the phonograms outside on the sidewalk with chalk. I call out a sound, and he jumps to the correct phonogram.

A fun game of Phonogram Hop.

A fun game of Phonogram Hop.

Another game we have enjoyed is the Phonogram Scavenger Hunt. I hide our Sandpaper Letters around the living room. He looks for them and says the sound when he finds one. Then he lays the Sandpaper Letter on top of the card printed with the same letter. This helps him know which phonograms still need to be found and also helps him to match cursive letters to a bookface font.

Phonogram Scavenger Hunt.

Phonogram Scavenger Hunt.

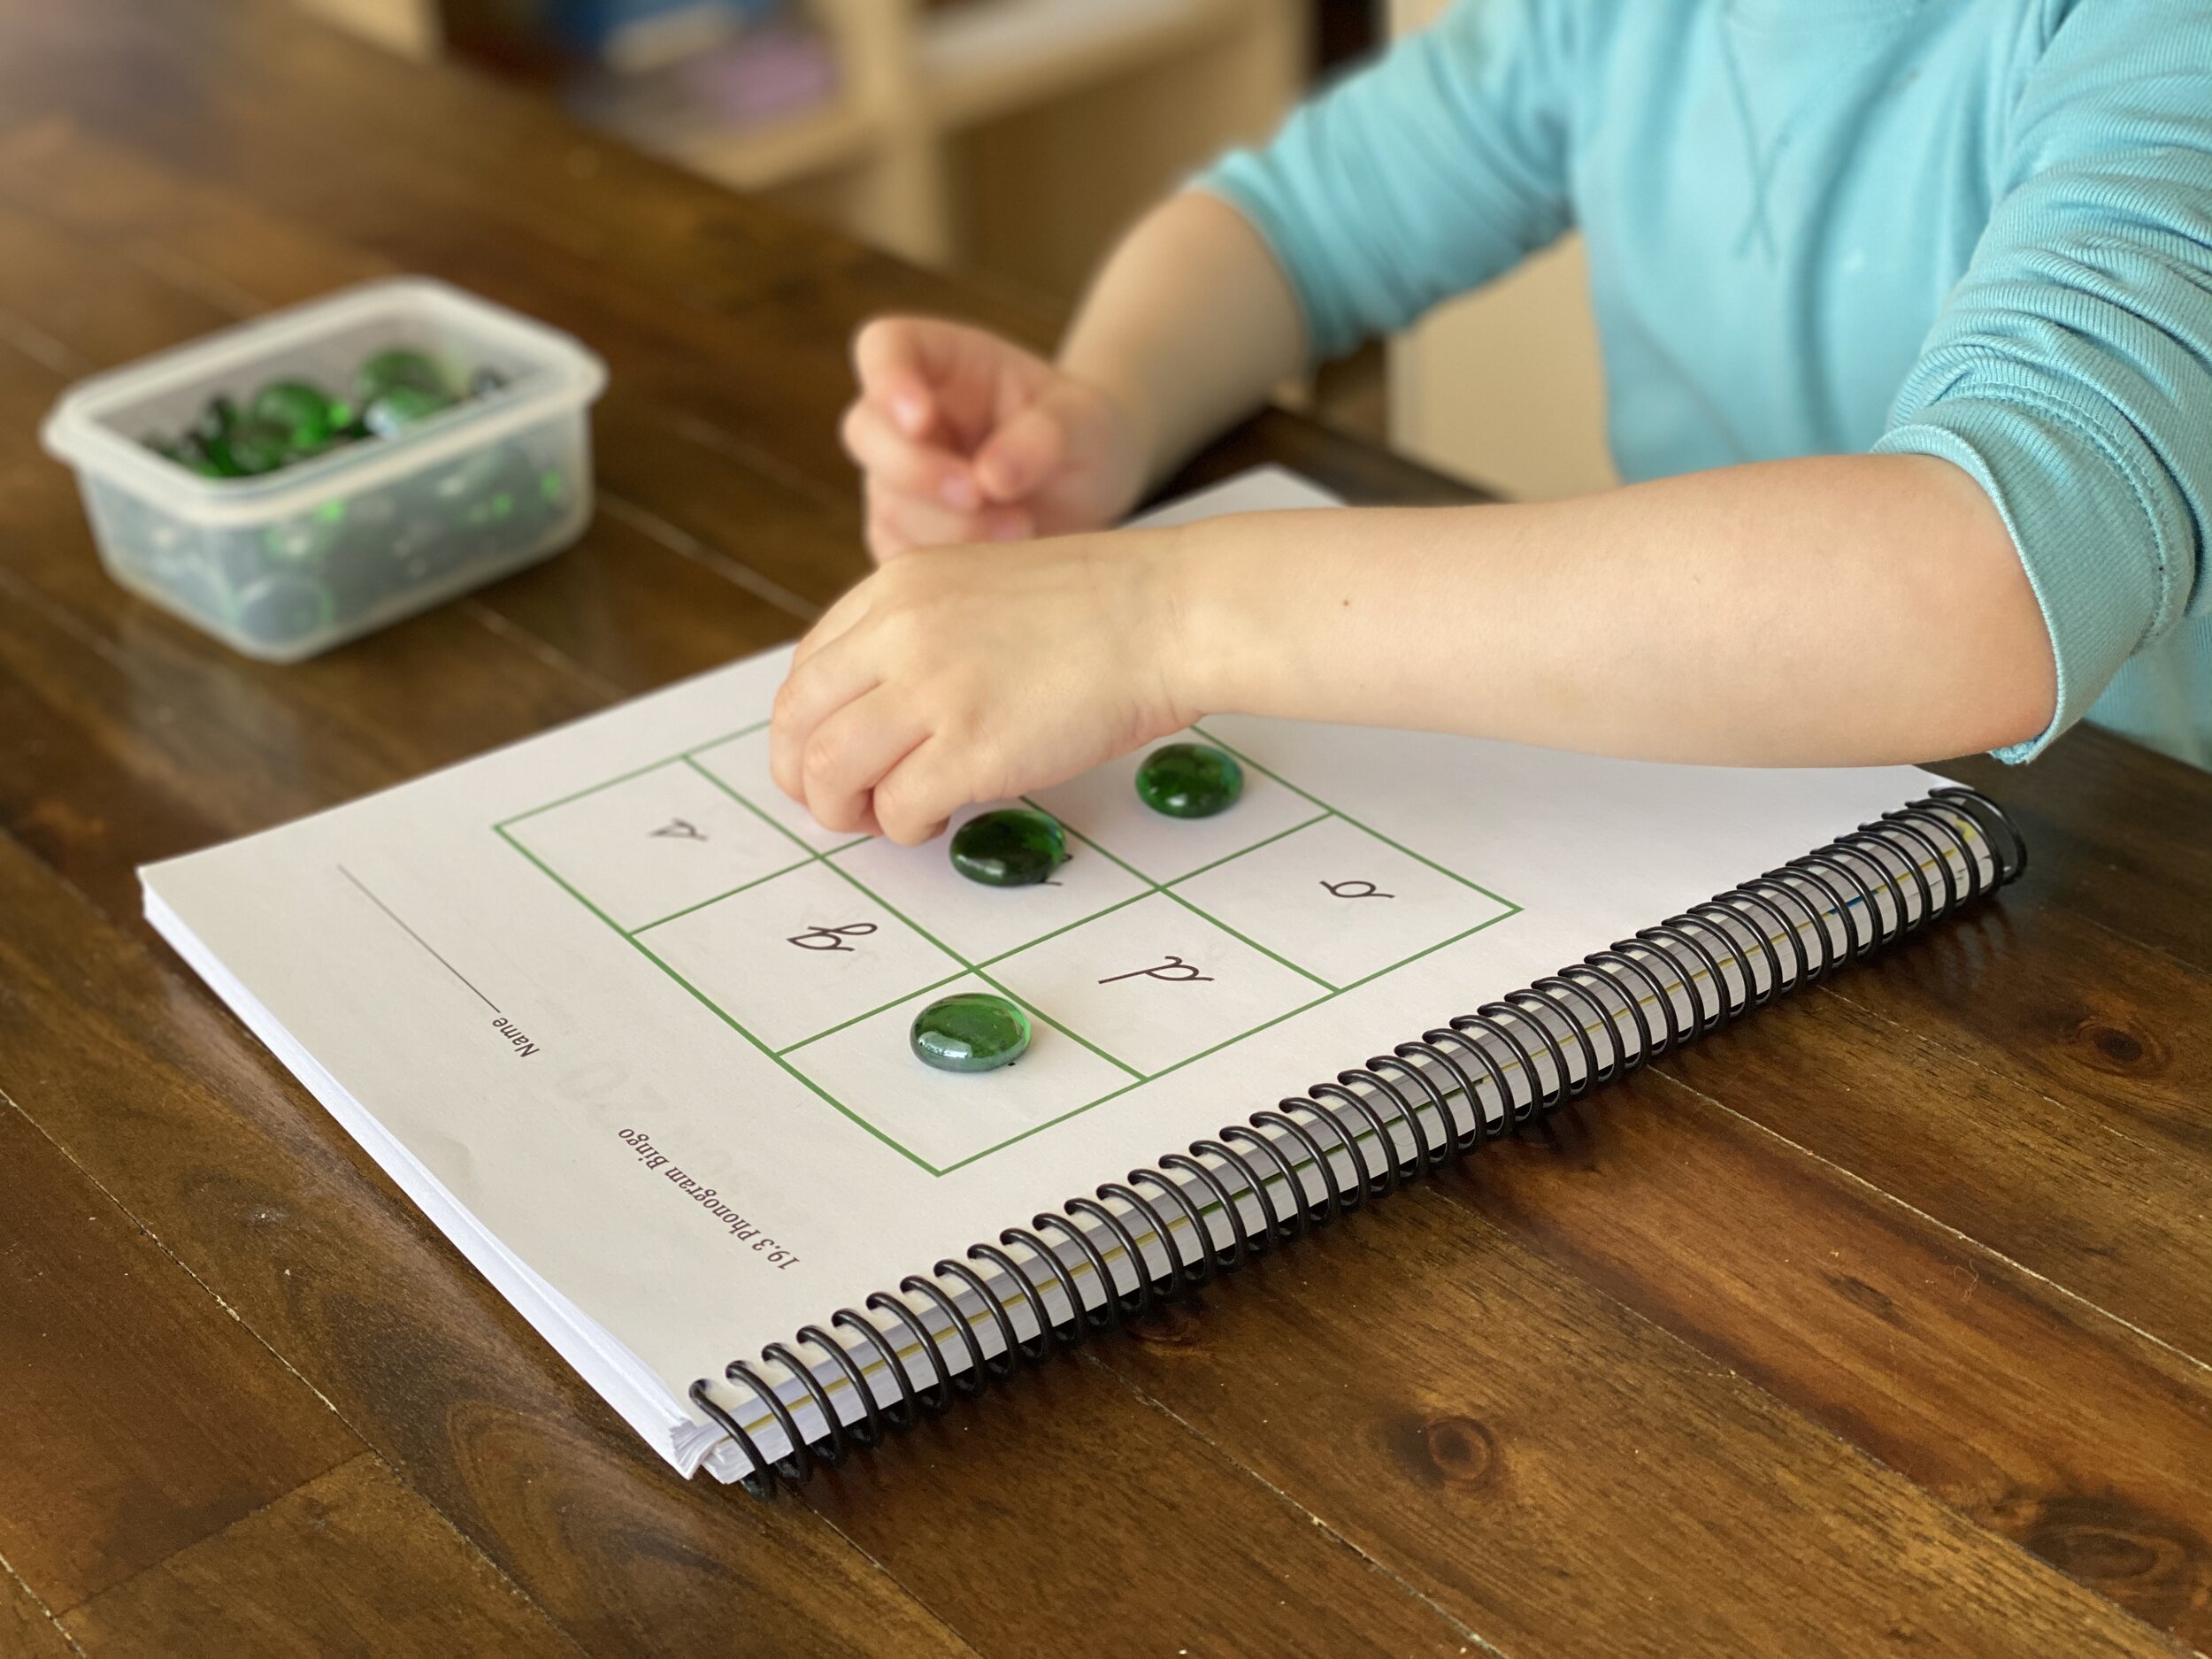
This game is Phonogram Bingo. I call out a sound, and he places a flat marble on the correct letter. When he fills the board he shouts, “BINGO!”

This is a game of Phonogram Bingo.

This is a game of Phonogram Bingo.

Whether you check out Logic of English or find other multi-sensory games to use as a review of the letter sounds, I can tell you that it’s worth it! As Dr. Seuss would say:

If you never did you should. These things are fun and fun is good!

Now start writing! Writing comes before Reading.

In Montessori education, the children begin encoding before they start decoding.

Encoding is writing. You build the code yourself. Decoding is reading. You decipher a code that someone else has built.

In other words, the Montessori path to literacy allows the child to build words on her own before she begins reading the words of others.

Why does this matter?

For a child who is still learning phonics, it’s much easier to start with a word already in mind, sound it out, and write it (or rather, build it) than it is to see a word, sound out each letter, blend the sounds back into a whole word, and then recognize its meaning.

Having the ability to record her thoughts is incredibly powerful and motivating for a child who is on the path to literacy.

Of course, young children at this stage are often not yet ready to write words with a pencil. Their hands are not fully developed. To remove this obstacle, we introduce them to the Moveable Alphabet.

Moveable Alphabet

This work often starts around 4 years old in a Montessori classroom. Children should have a SOLID foundation in phonological awareness and phonemic awareness. Remember those Sound Games?! Additionally, success with the moveable alphabet will be greater if your child knows most or all of the single-letter Sandpaper Letters as well as several of the double-letters.

Before you give a presentation, take some time to introduce your child to the box and help him become familiar with where each letter sits. Take some cards out and let him find where they belong.

moveable alphabet
Making a list of animals. He thought of the animal and sounded it out. I helped him segment the parts of the word if he needed help.

Making a list of animals. He thought of the animal and sounded it out. I helped him segment the parts of the word if he needed help.

When you do present this work, you might simply start by making a list of words. You can suggest to your child that you both make a list of colors or a list of animals or a list of foods. In the beginning, you’ll want to help your child segment the words he has in mind. He can search the box for the letters that correspond to each sound, and you can show him how to lay them out in the correct order.

Making a list of things our bodies can do.

Making a list of things our bodies can do.

Many words will be misspelled because the child will be spelling phonetically at this point. Notice in the photo below that ‘laugh’ is spelled /l/ /a/ /f/. In time, the child will learn advanced phonograms and spelling rules that will help correct his spelling. For now, this work is all about building his confidence in writing and sounding out words.

A list of what our bodies can do.

A list of what our bodies can do.

After a child has success writing lists, try adding adjectives or adverbs. Eventually, he can begin writing out sentences, short stories, and poems with the moveable alphabet. Encourage his creativity with this work!

it’s time to read!

As soon as you notice your child spontaneously reading, it’s time to introduce the phonetic object box.

Phonetic Object Box

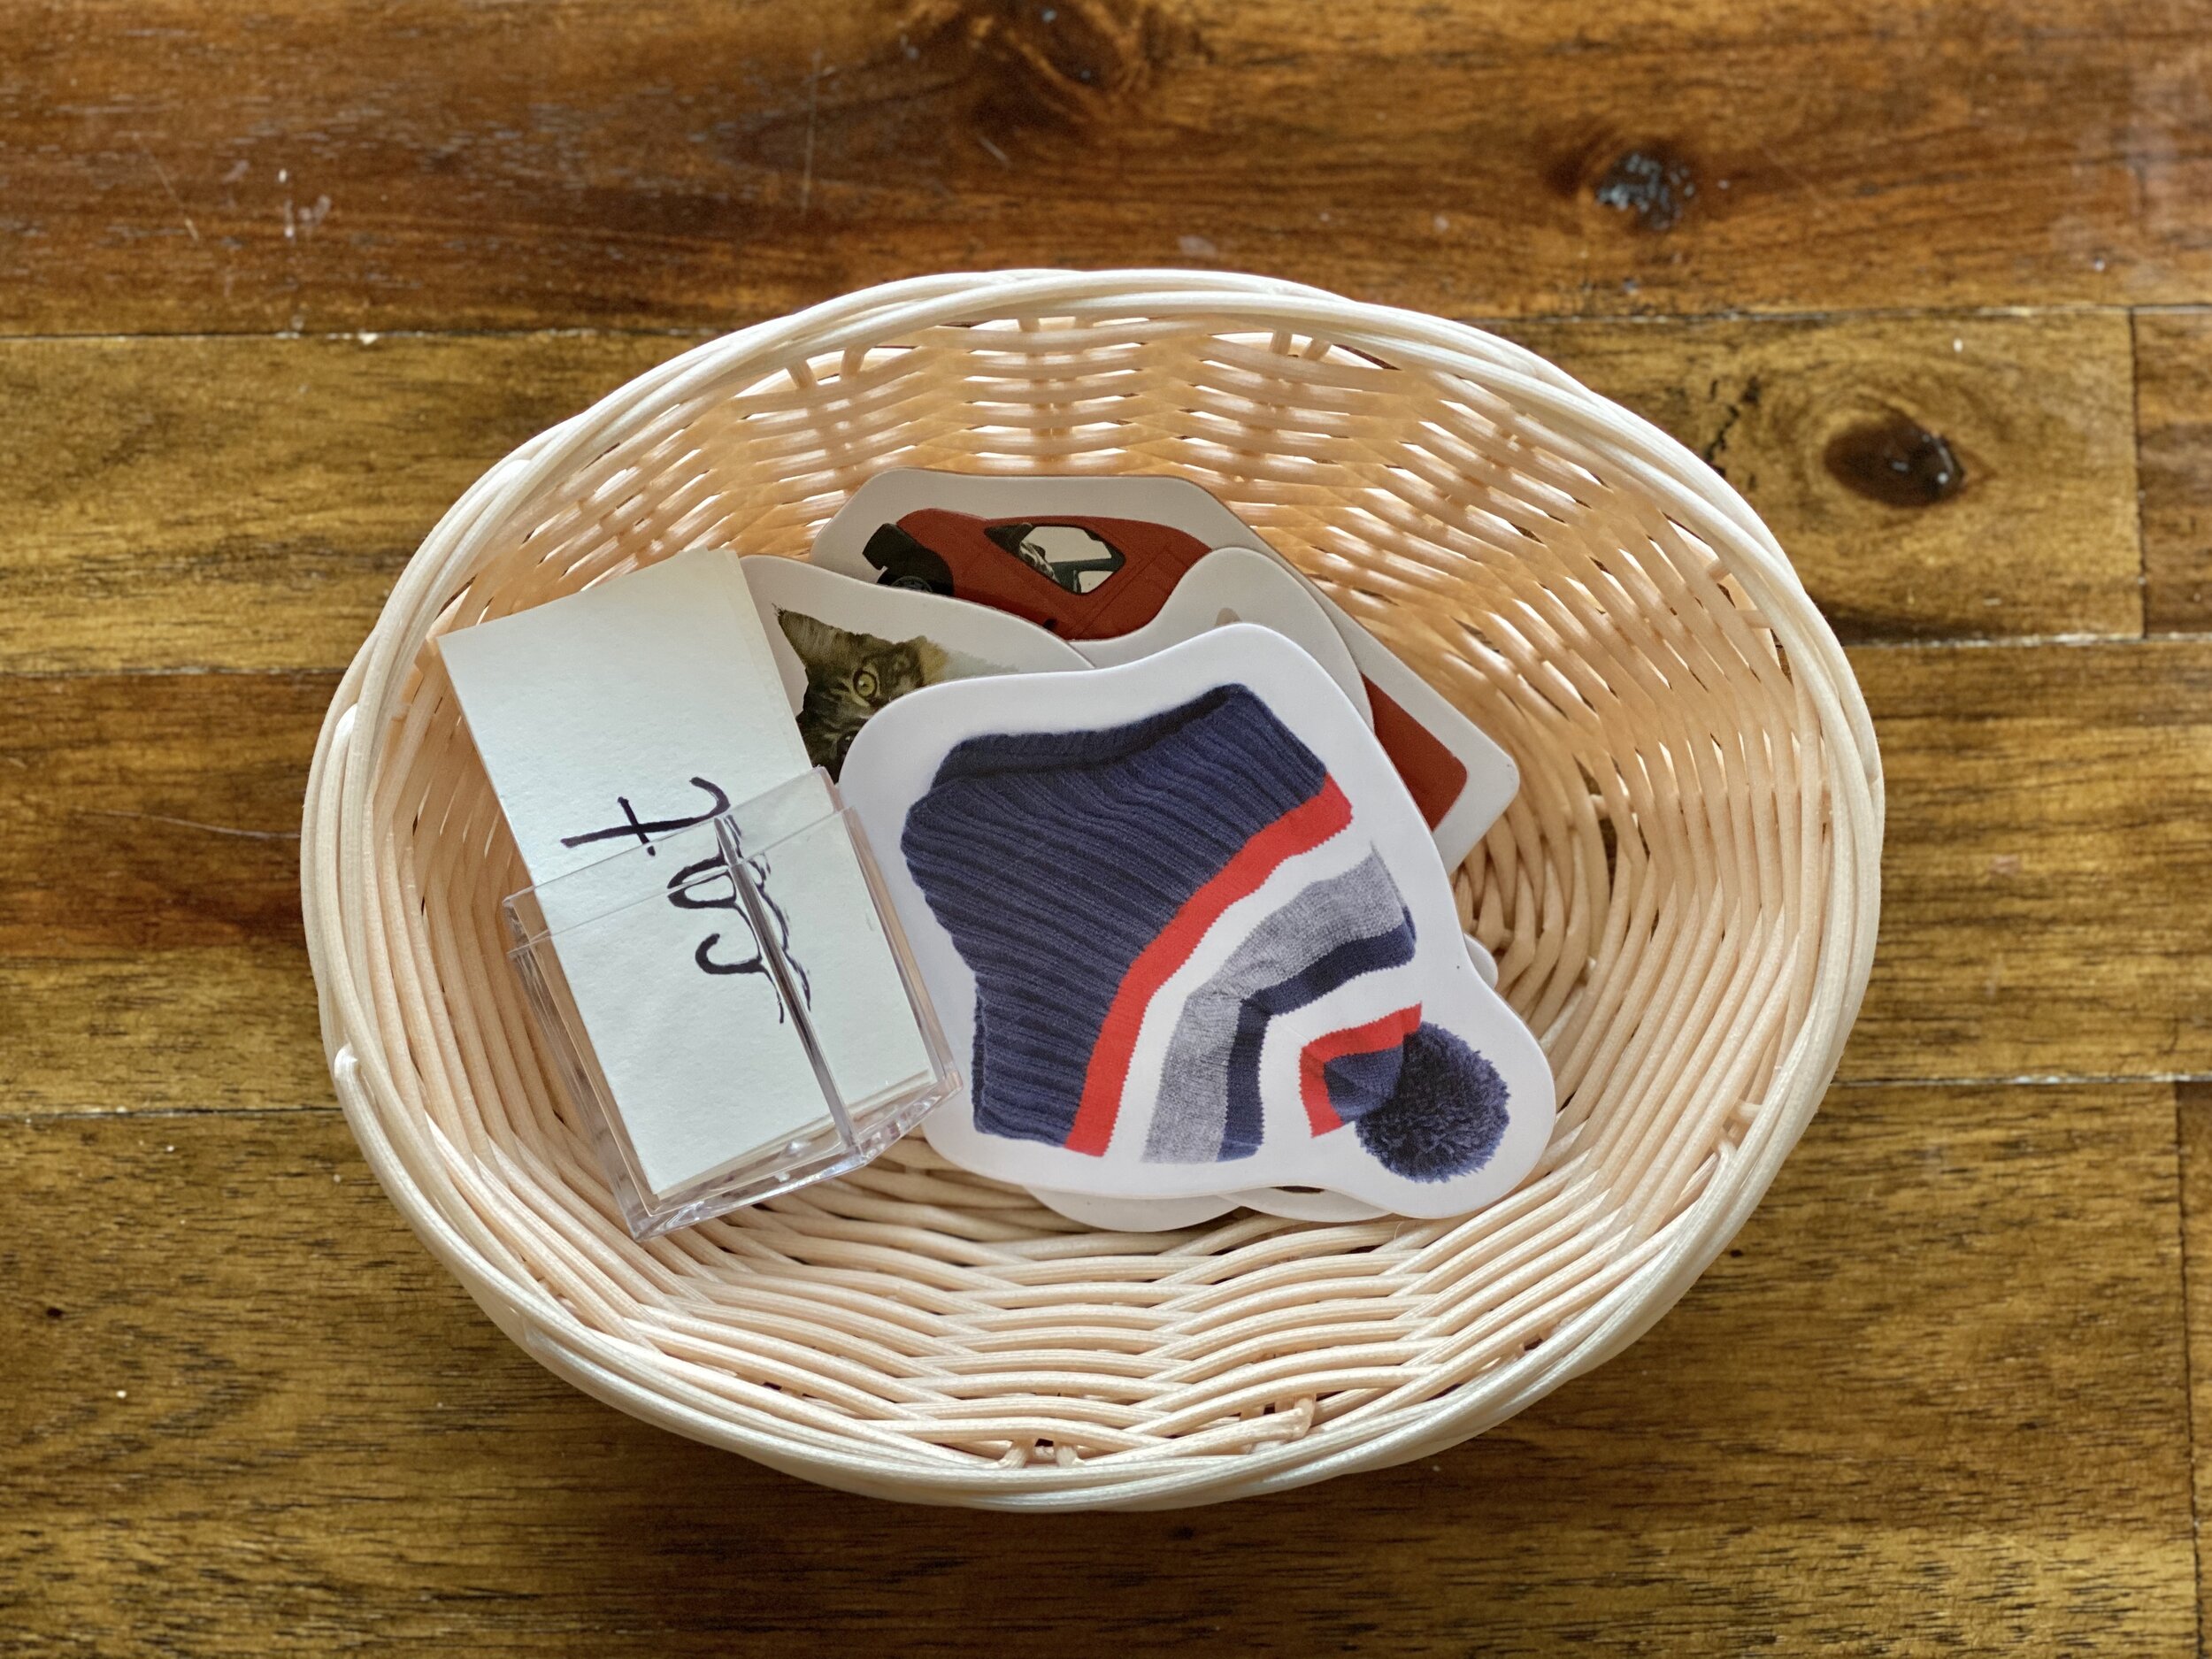
For this work, you can put together a small decorative box that holds phonetic objects and labels with the words written on them. Your child will read a label and match it to its corresponding object.

For a more in depth look at this game, check out this post from Montessorium.

My homemade version of the Phonetic Object Box uses our phonetic object picture cards and is held in a simple basket. Not quite so lovely or enticing as the tiny objects in a decorative box, but it’s what we have on hand. I’ve chosen to start with CVC words only, but if your child is comfortable with digraphs and blends you can certainly add in some of those. You can also change out the box to add new levels of difficulty once your child masters the first set.

If you’d like to purchase a ready-made phonetic object box, I recommend this set from Montessori Services.

phonetic object box
montessori phonetic object box

Puzzle words

Now it’s time to introduce puzzle words. Many people might refer to these as ‘sight words.’ They are the commonly used words that are not spelled phonetically.

Examples include words such as: I, you, he, she, we, be, one, two, was, the, to, are, could, would, said, our, who, my, what, know, no, go, our, again…

Puzzle words can be written on a sturdy set of cards and introduced to your child a few at a time through a Three Period Lesson.

Feel free to add words that you think your child might need to know at this point. The main goal of introducing puzzle words now is to prepare your child to read small books and short stories that will likely include these short words that are difficult to sound out.

And if you don’t want to make your own cards, you might try this set from Miss Rhonda's Readers or this set from Nienhuis.

I personally prefer to keep “sight words” to a bare minimum because later in a child’s learning, you can introduce the advanced phonograms and spelling rules that will help your child understand the logic behind most of these words. For more about teaching sight words, check out my recommendations for parents and teachers at the end of this post.

Early Readers

Congratulations! Your child is now ready to read early readers! Start simple. Look for ones with mostly CVC words. This will build her confidence. Progress in difficulty as she is ready.

Here are some of my favorite sets of early readers:

Bob Books - Set 1: Beginning Readers

Miss Rhonda’s Readers - Set 1

FlyLeaf Publishing Emergent Reader Series

Book Recommendations For Parents and Teachers

Here are some resources that I HIGHLY RECOMMEND to help guide your work as you teach your child to read.

A Key to Writing and Reading for English by Muriel Dwyer

This book is ESSENTIAL for anyone considering teaching their child to read the Montessori way. It’s small––more like a pamphlet––but it outlines the entire Montessori approach to literacy in detail. This guidebook will not only answer any questions you might have, but it will walk you even past the early readers.

Uncovering the Logic of English by Denise Eide

This book is essentially a reference book that lists and explains all of the phonograms and spelling rules that govern the English language. It is a quick and informative must-read for anybody and everybody who teaches phonics.

Sounding Out Sight Words: A Guide for Teaching the Dolch Words Through Phonics

This is a great tool for teaching a child high-frequency sight words from the Dolch List in a logical way rather than through rote memorization. But definitely save this work for the elementary years (ages 6-12), when children are naturally interested in understanding logic and reasoning.

Best wishes to you and your child as you embark on this journey! Enjoy the process. Teaching your child to read the Montessori way is definitely a lot of work, but you can take it slow and steady. Keep this work light-hearted and engaging for your little one, and remember that you and your child should be having fun along the way!
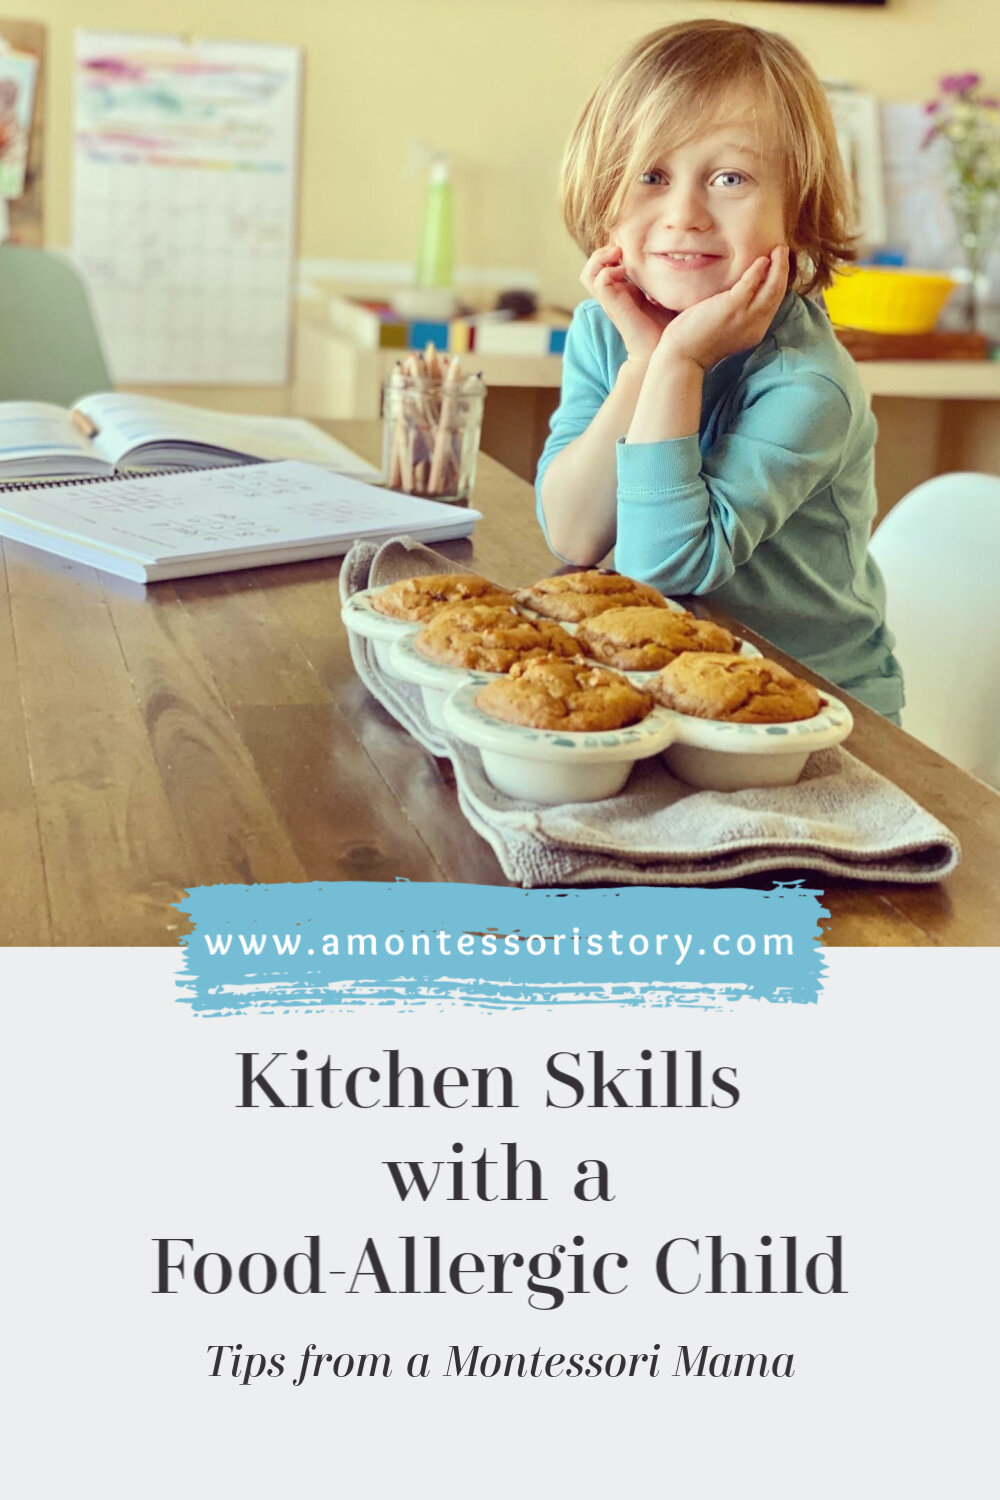
Kitchen Skills with a Food-Allergic Child: Tips from a Montessori Mama

pumpkin muffins 3 (2).jpg

*This post may contain affiliate links at no cost you.

“Help me to do it myself.”

Guiding the child toward independence is the cornerstone of the Montessori philosophy. And as a Montessori teacher and mother, introducing my child to practical life skills is so important. I want to give Oliver opportunities each day to contribute to our family’s home-life in a meaningful way.

At age 3 (soon-to-be 4), he can help take out recycling, fold washcloths, and even dust-mop the floor. He puts his dishes away and sweeps his crumbs off the floor after his meals.

But what about all those kitchen skills that children need to learn? And what about those special childhood memories—baking cookies for Santa, making breakfast for Dad on Father’s day, making homemade ice cream on a hot summer’s day?

To be honest, I avoided this area of practical life for a long time. Not just because of the obvious dangers—the sharp objects, the hot oven, the boiling pot of water—but because Oliver has severe food allergies to dairy, egg, peanuts, and shellfish. Accidentally giving my child a food with traces of egg or peanut in it could cause anaphylaxis, a life-threatening allergic reaction.

Food allergies were actually a primary factor in our decision to homeschool this year. Oliver started oral immunotherapy (OIT) about a month ago. It will likely be a long process, and it’s a huge undertaking for our family. It’s a lot to unpack, so I’ll save that post for another day.

When we discovered Oliver’s food allergies, it meant a lifestyle change for our family. Dairy, egg, and peanuts have been staples in my daily diet since my childhood. Fast forward to today, and I haven’t bought a jar of peanut butter or a crate of eggs in over 3 years. Though we are not vegan (or even vegetarian), we eat lots of vegan foods just because we know they are safe. We rarely eat out at restaurants. We take our own treats to birthday parties. And we carry Epi-Pens, antihistamines, hydrocortisone cream, and an inhaler everywhere we go. Whether it’s to a museum, on a hike, or to the beach—these things are always with me. People may wonder why I still wear a backpack on the reg now that I’m in my 30’s. Well, now you know!

Emergency Cackpack

It often seems easiest just to avoid the kitchen all together. Less experimenting with new recipes means less stress and anxiety, right? I’ve seen so many adorable photos on social media of capable little ones scrambling eggs alongside their watchful parents—it’s is the stuff of this mama’s nightmares! Just the thought of doing that with my child gives me the heebie-jeebies.

But dealing with food allergies doesn’t just affect parents and caregivers; it also has a profound impact on the child.

My 3-year-old knows that some foods that most people love to eat are just not safe for him. He’s memorized his list of allergens. Before we have a playdate with other children, I remind him that if someone offers him food, he should always ask me first.

This summer after a day at the beach with friends, my little guy couldn’t wait to tell me what happened: “Those girls wanted to give me some chips, but I told them that my mommy doesn’t know if it’s safe.”

His face was beaming with pride, and of course I was proud of him, too! Our conversations had been successful! But oh, how those words made my heart sink all at the same time.

Oliver also knows to tell me right away if his throat hurts or feels funny, if he is having trouble breathing, or if his body feels itchy. This is a conversation we have daily, especially now that we’ve started OIT.

Food allergies are a huge burden for any child to bear.

And now that we’re homeschooling, I know that Oliver and I need to get into the kitchen more often, and we need to start learning together.

Imagine how empowering it can be for a child with food allergies to learn not only how to make safe and healthy food choices independently, but also how to prepare delicious, allergy-friendly treats and meals to share with others!

I, for sure, want that for Oliver, so we’re diving in head first! And If you are a parent or primary caregiver of a child with food allergies, I want to encourage you to shake the fear, too!

Food-allergic children can and should learn the practical life skills that happen in the kitchen. They should have the opportunity to try new foods, experiment with different ingredients, and enjoy the food that sustains their bodies!

Here are a few tips to help get you going:

Start simple.

Work up to cooking and baking. There’s no need to jump right into experimenting with new recipes.

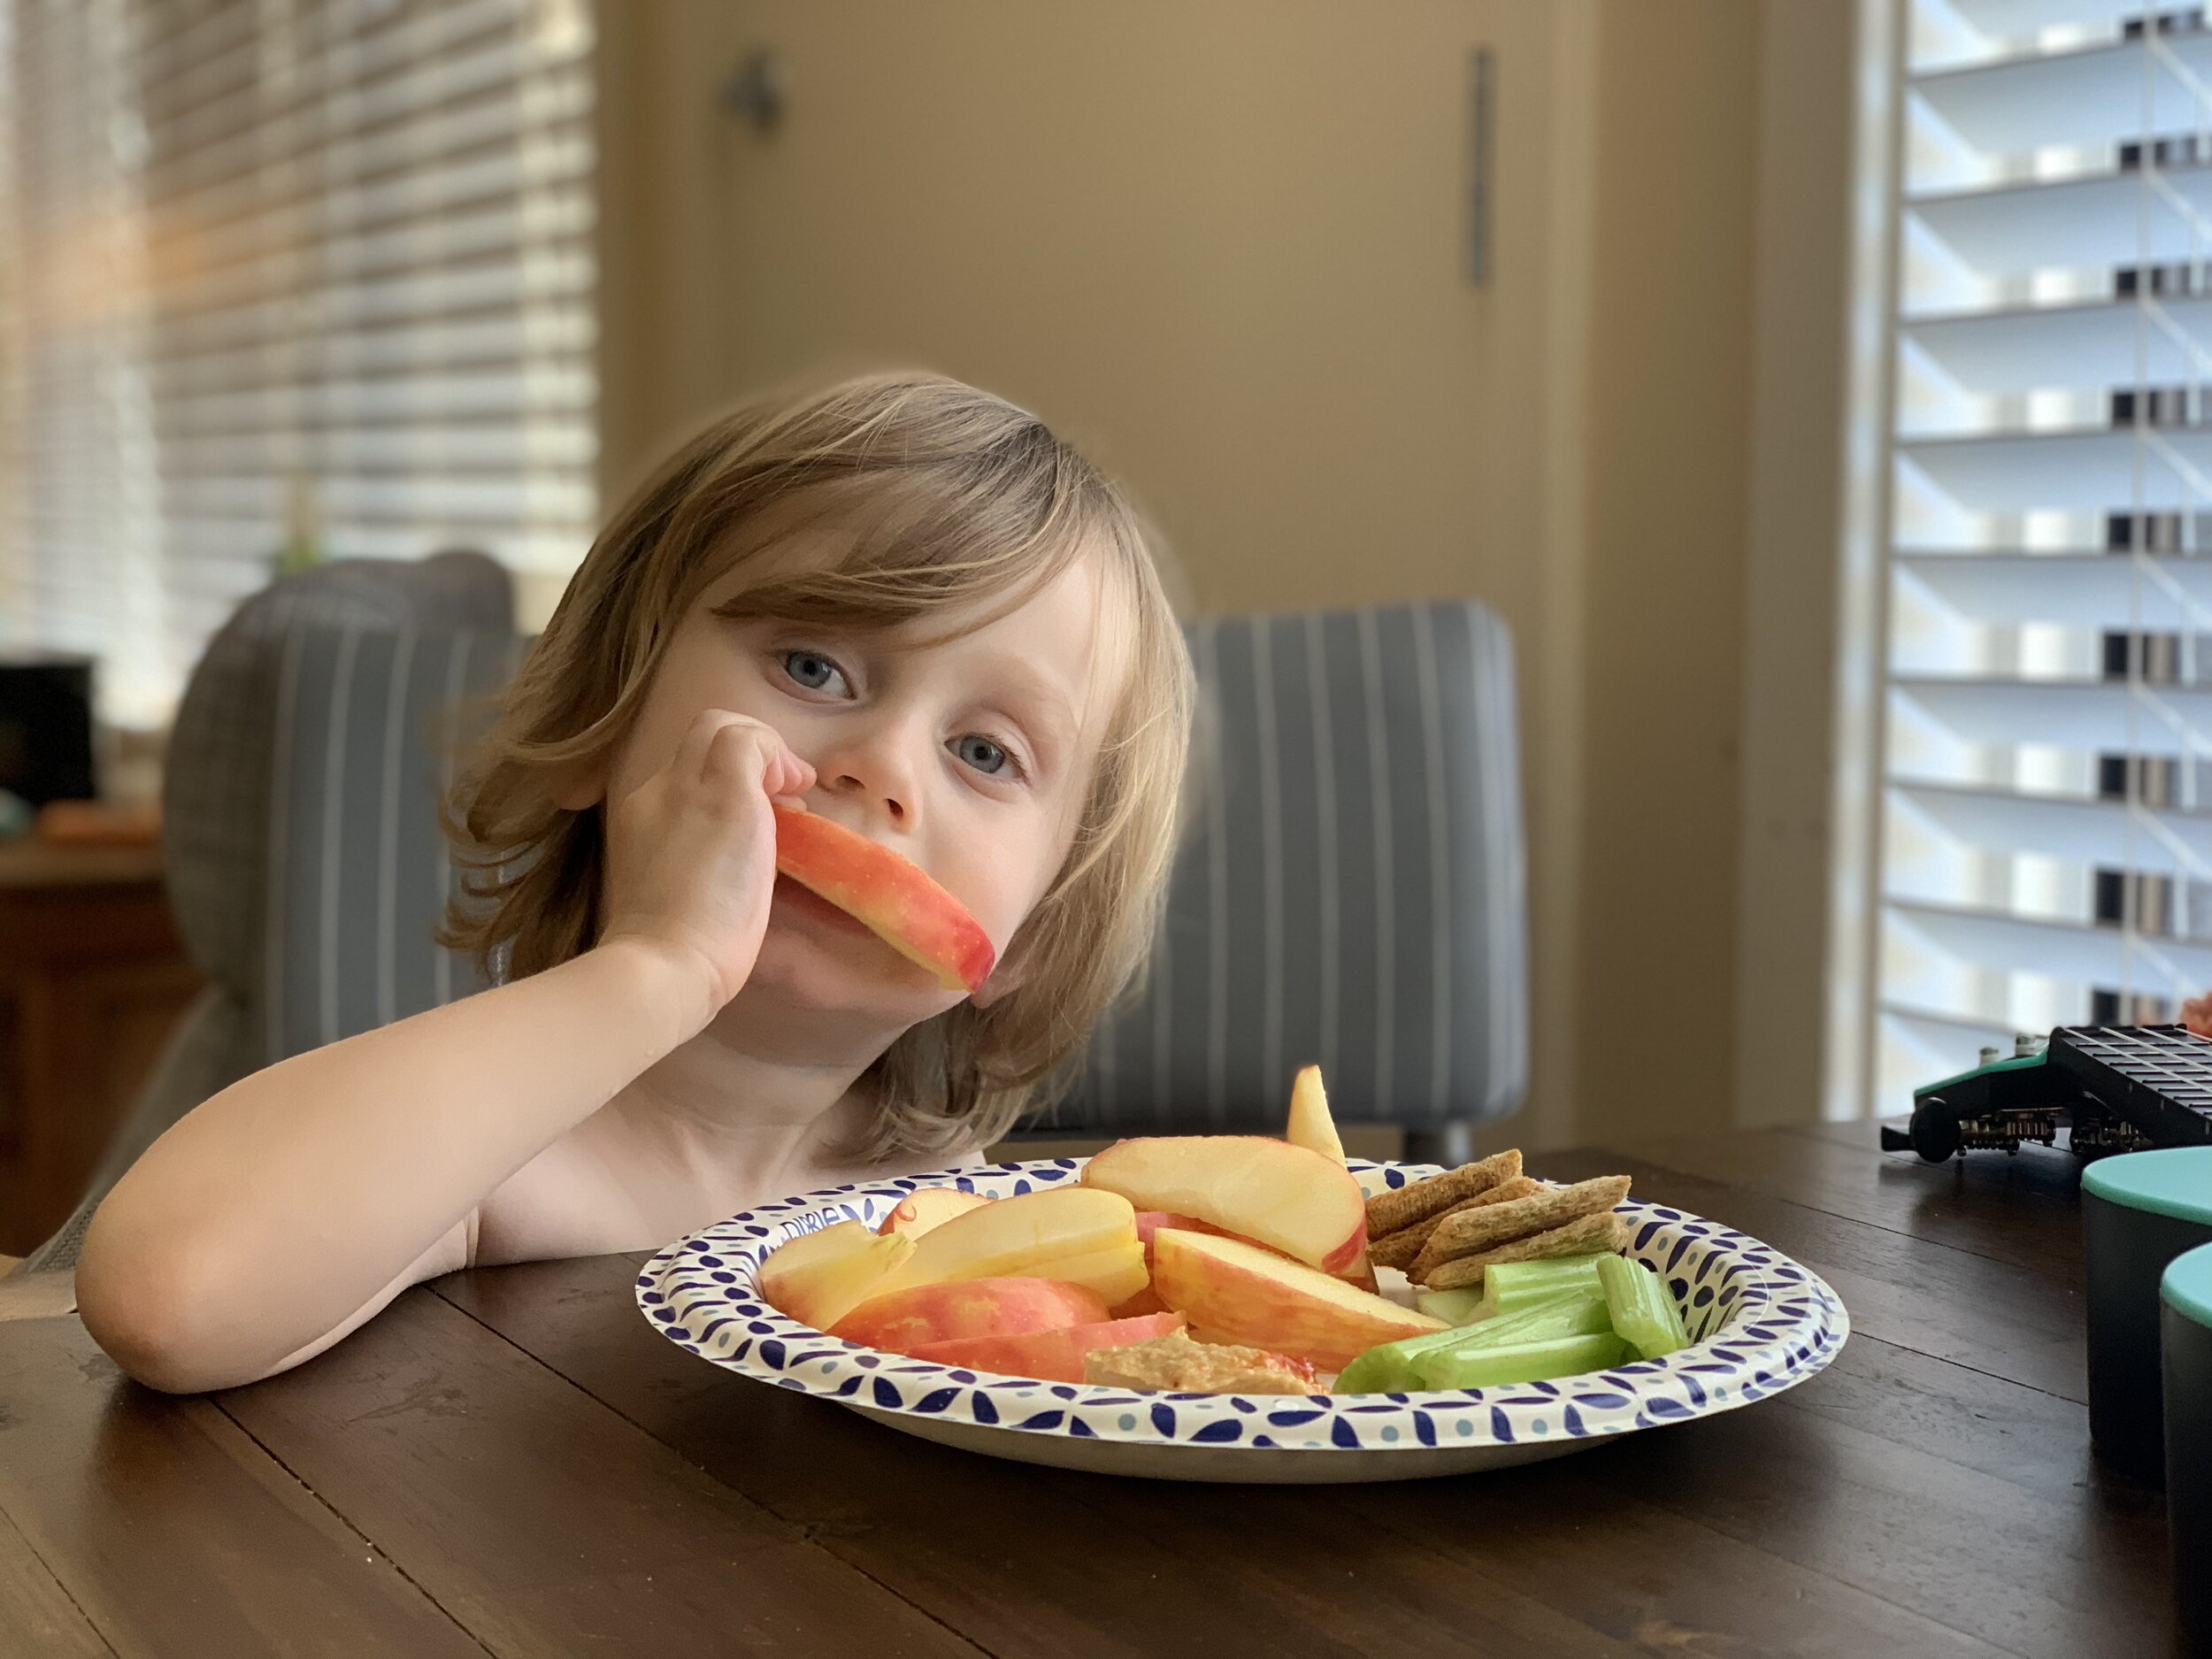
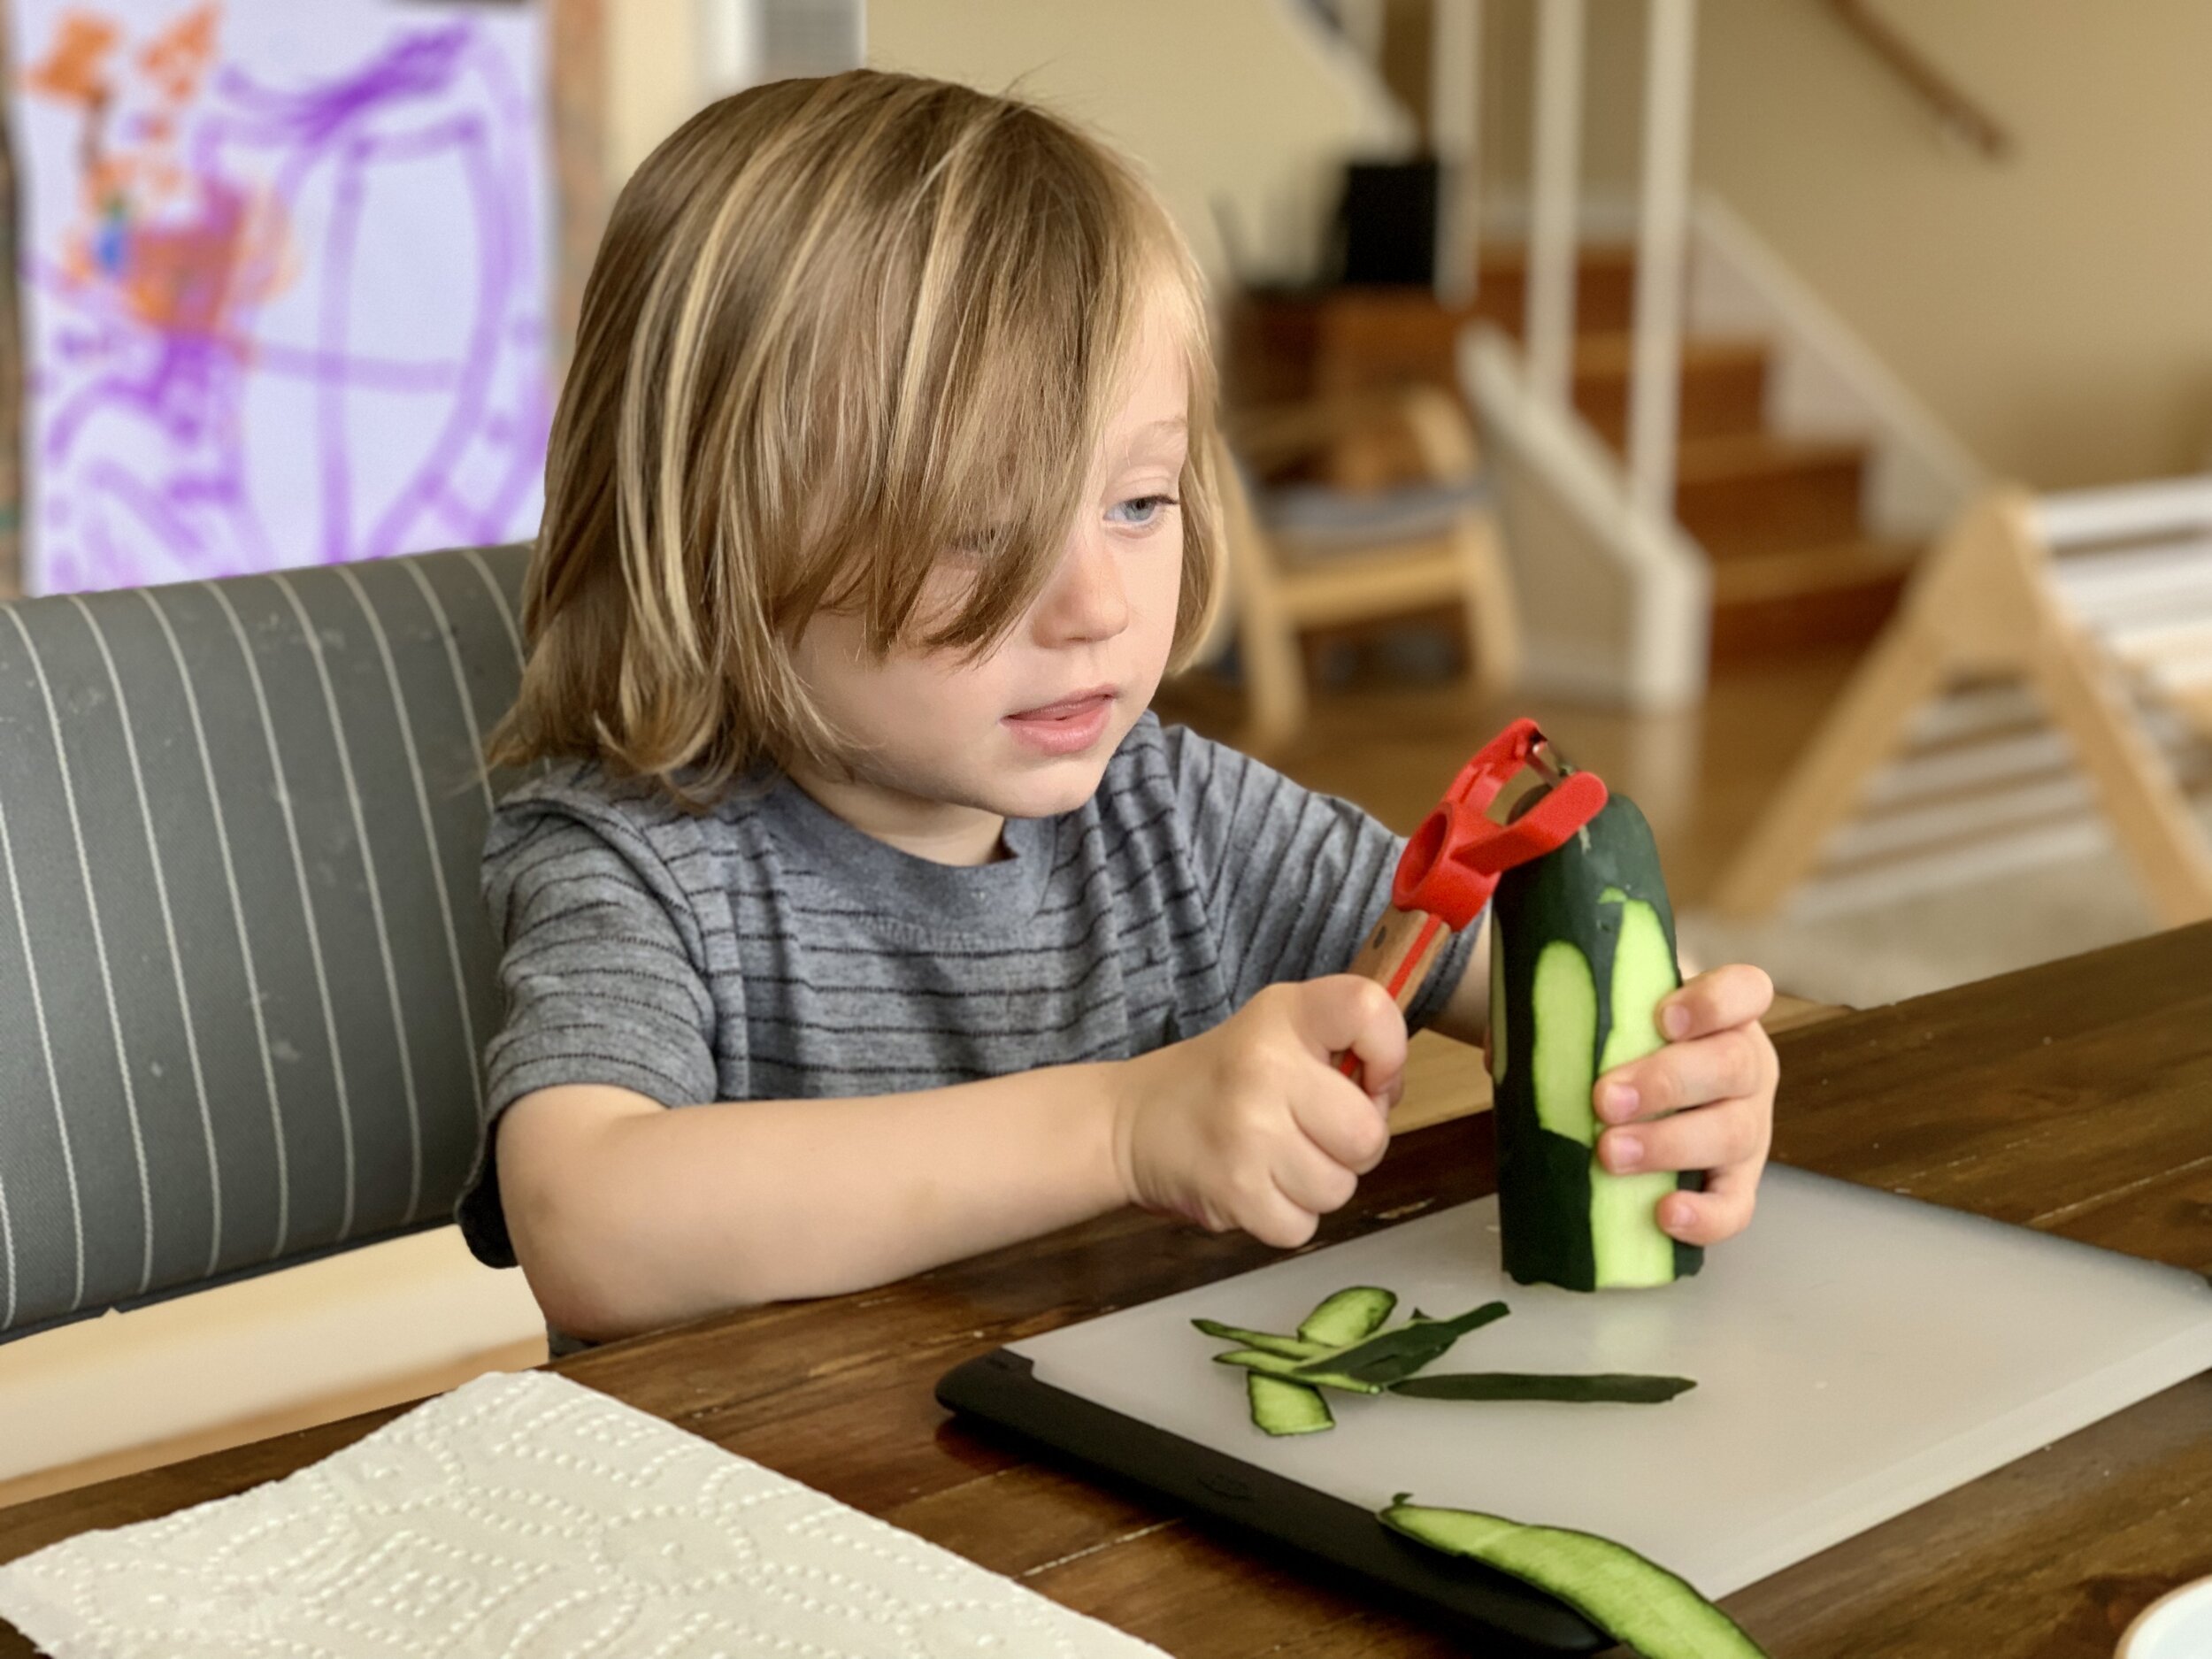
Oliver has spent the past year doing a lot of peeling and slicing fruits and vegetables. And that’s okay! For me, it felt safe and easy. For Oliver, it’s a fun and delicious activity. And, of course, it’s helped with the development of his fine motor movements, dexterity, and hand-eye coordination.

IMG_0191.jpeg

Choose the fresh, whole foods that you know are safe for your child. Better yet, take your little one to the farmer’s market or grocery and let her pick them out herself! Buy a crinkle cutter or a set of nylon knives and a small cutting board.

banana slicing

Or spice it up by trying out other fun kitchen tools such as the strawberry slicer, the avocado slicer, or the banana slicer! Seriously, there is a slicer for everything. And don’t forget the trusty citrus juicer! Everyone loves a good old glass of lemonade!

Also, kid’s LOVE to make tea! This is an easy thing they can make for themselves or for friends and family who drop by for a visit.

peeling cucumbers


ALWAYS read labels!

Okay. I know this seems obvious to parents of food-allergic kids, but it’s always worth mentioning. Parents aren’t the only ones who might enjoy spending quality time baking sweet treats with the little ones. In fact, you may be the grandparent, teacher, or daytime caregiver of a child with food allergies reading this right now. If so, good for you for educating yourself for the safety of the children!

I cannot stress the importance of thoroughly reading labels. Vigilance is a necessity.

I once picked up a jar of almond butter to make Oliver an AB&J sandwich since he can’t have peanut butter. Thankfully, I read the label because it was a brand I had never used. While peanuts were NOT listed as an ingredient in this almond butter, the label read “may contain peanuts.” This was written UNDER the list of ingredients! Something like this could easily be overlooked. So get into the habit now.

Let your child see you reading the label, show her the labels and read them aloud. This is how she will learn to do this herself in the future.

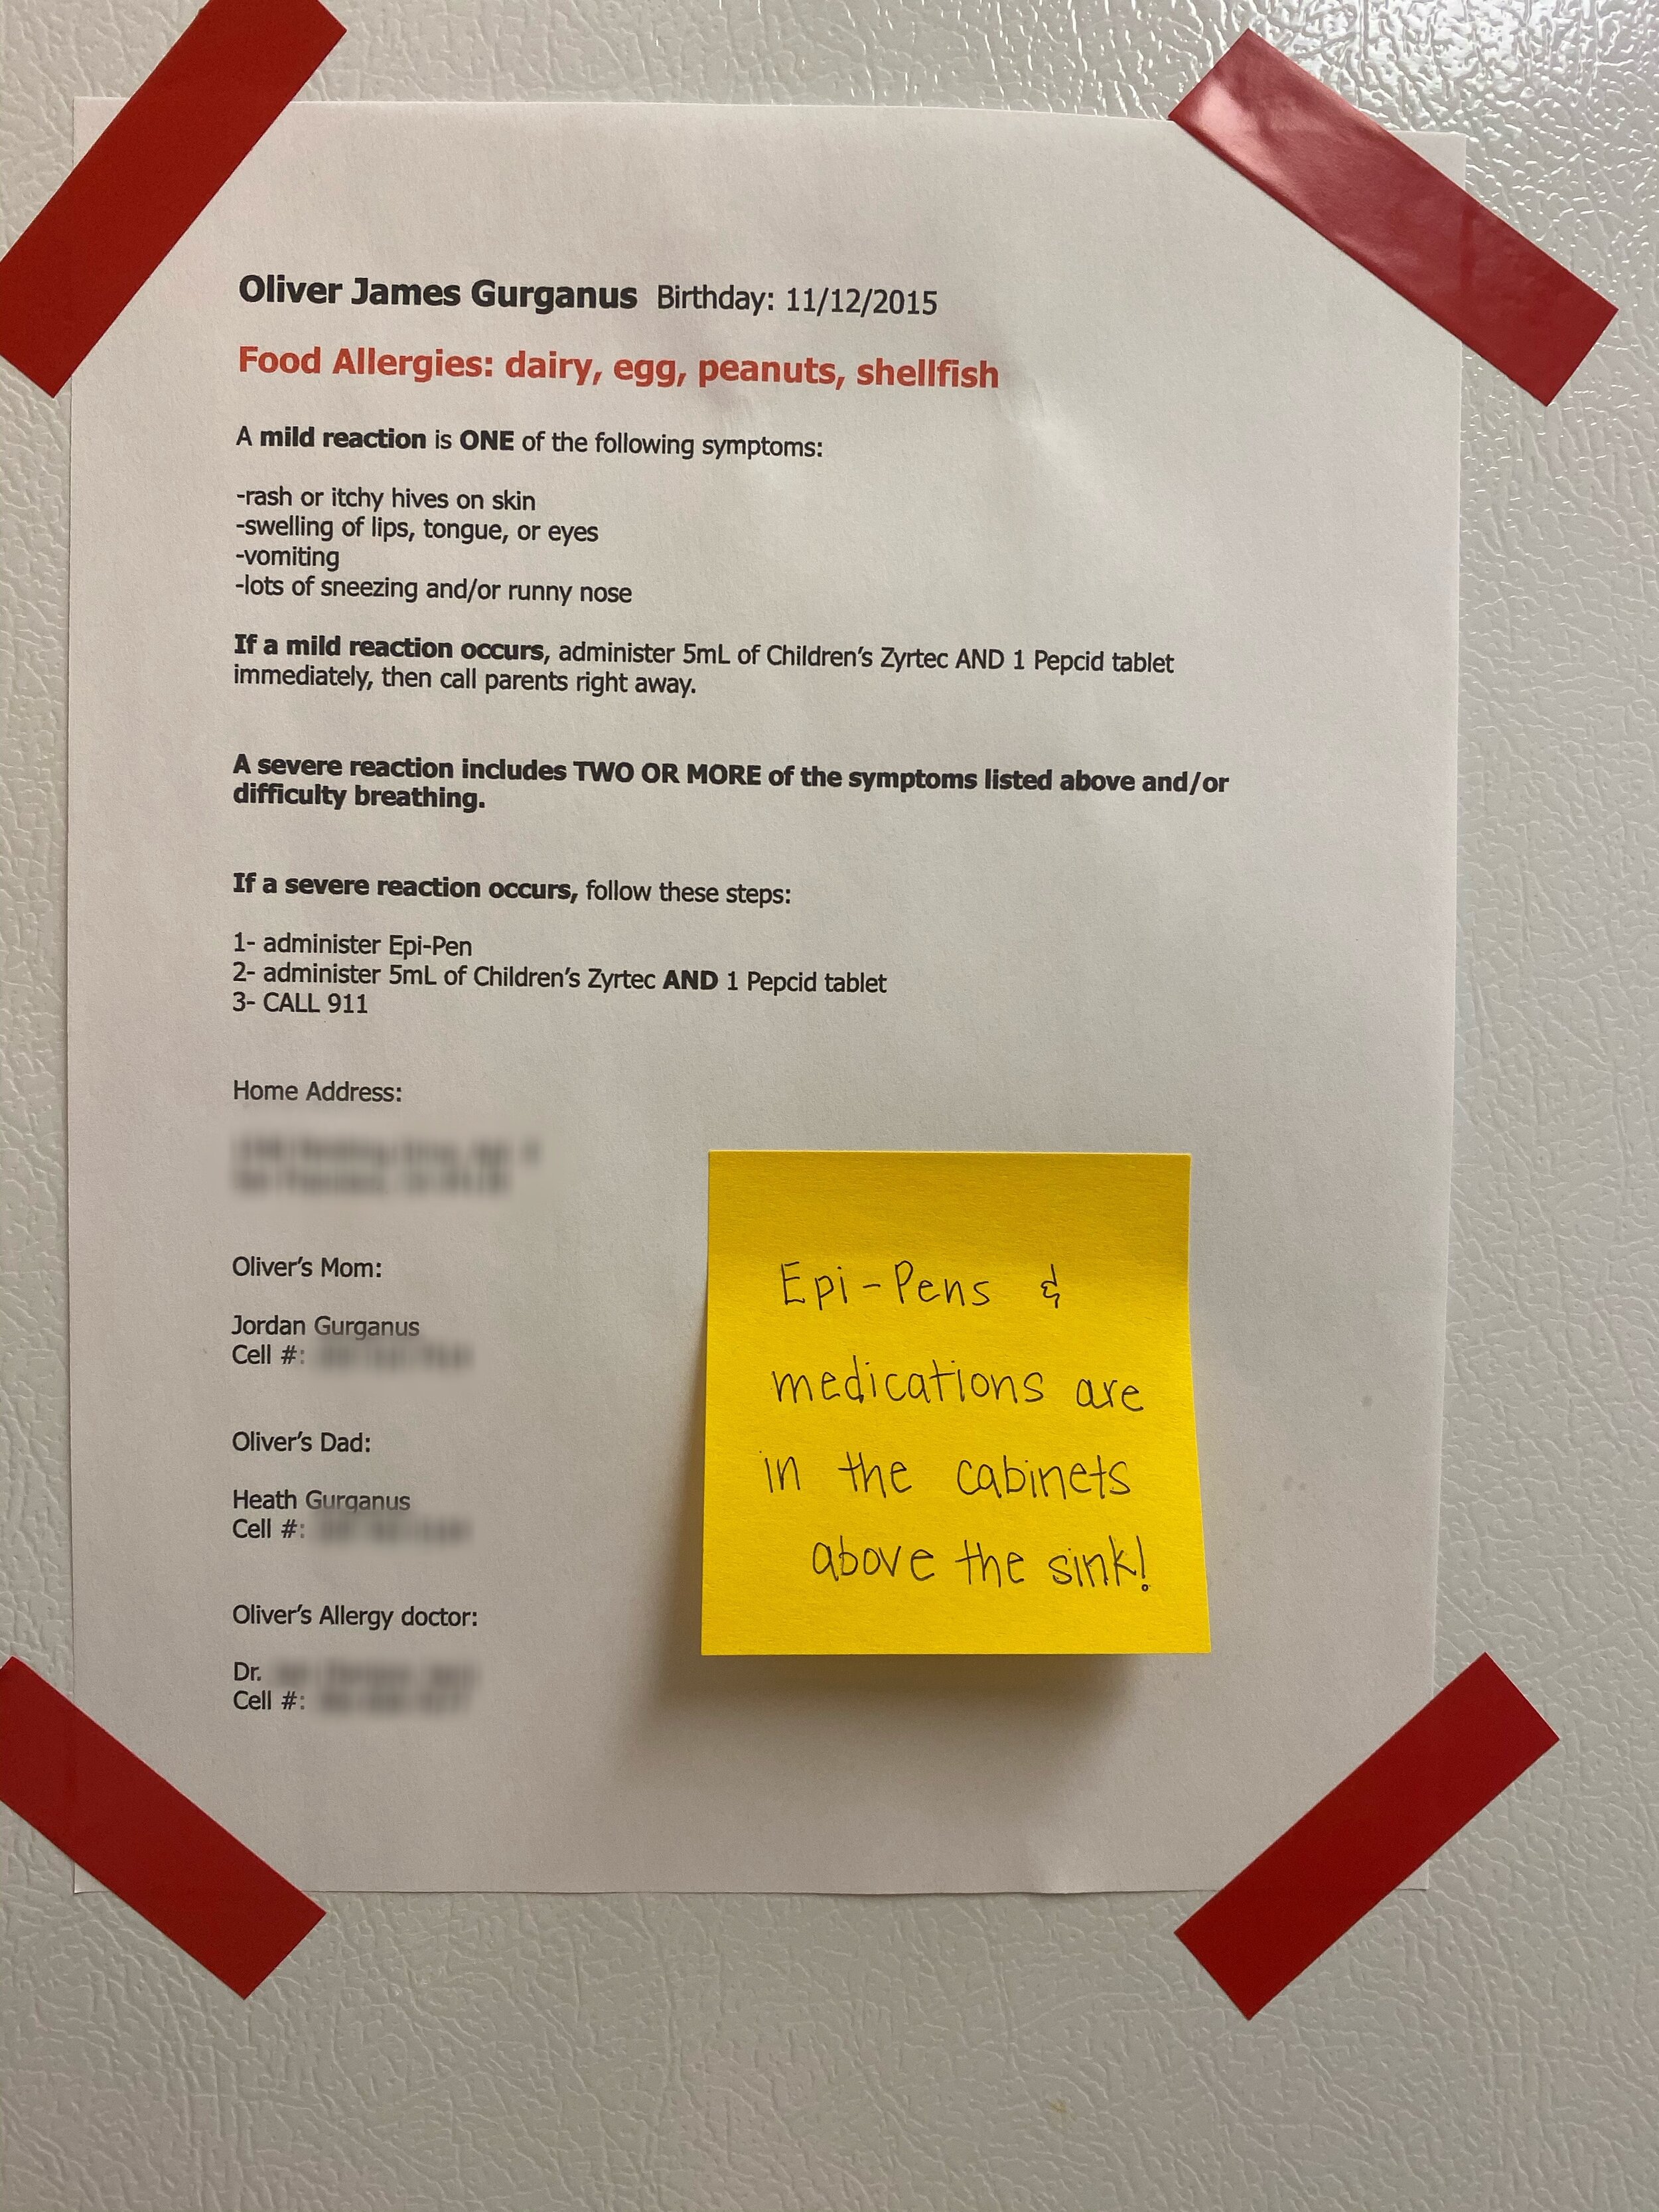
Post a list of allergens AND emergency information in the kitchen!

Again, this one is not so much for the parents as for visiting friends, family, babysitters, etc.

I taped ours on the fridge. It’s super visible, but I point it out to anybody who may be taking care of Oliver.

Food Allergy Emergency Information

If there are foods your child should not consume in the kitchen, make sure he knows which ones are not safe.

While we’ve eliminated eggs, peanuts, and shellfish from our home completely, dairy has been the hardest to let go of. We’ve tried the milk alternatives. Oliver loves Ripple plant-based milk, and I’m so thankful to have found this nutritious alternative for him.

But for myself, nothing compares to cow’s milk. So, my husband and I just haven’t made the switch. Thankfully, Oliver’s never had an anaphylactic reaction from milk. But every reaction is different, and we can never be sure that it won’t happen.

So, Oliver knows which milk is for him and which is cow’s milk that he should not touch. The containers look very different, so I’m not afraid that he will accidentally mix them up.

And on the rare occasions we’ve had a babysitter, I’ve been known to take the red tape and mark the cow’s milk “NOT FOR OLIVER!”


Break out of the box and explore new ingredients and recipes!

It’s so easy to fall into the rut of preparing a handful of food options that we know are safe, but there are SO many baking ingredient alternatives and allergy-friendly recipes available.

Check out one of my new favorite resources, Smile Café, for allergy friendly eats for kids. All the recipes they post are completely free of the top 6 food allergens.

And just to get you inspired, here is my recipe for a delicious autumn treat that your kiddo will be excited to bake and to eat!

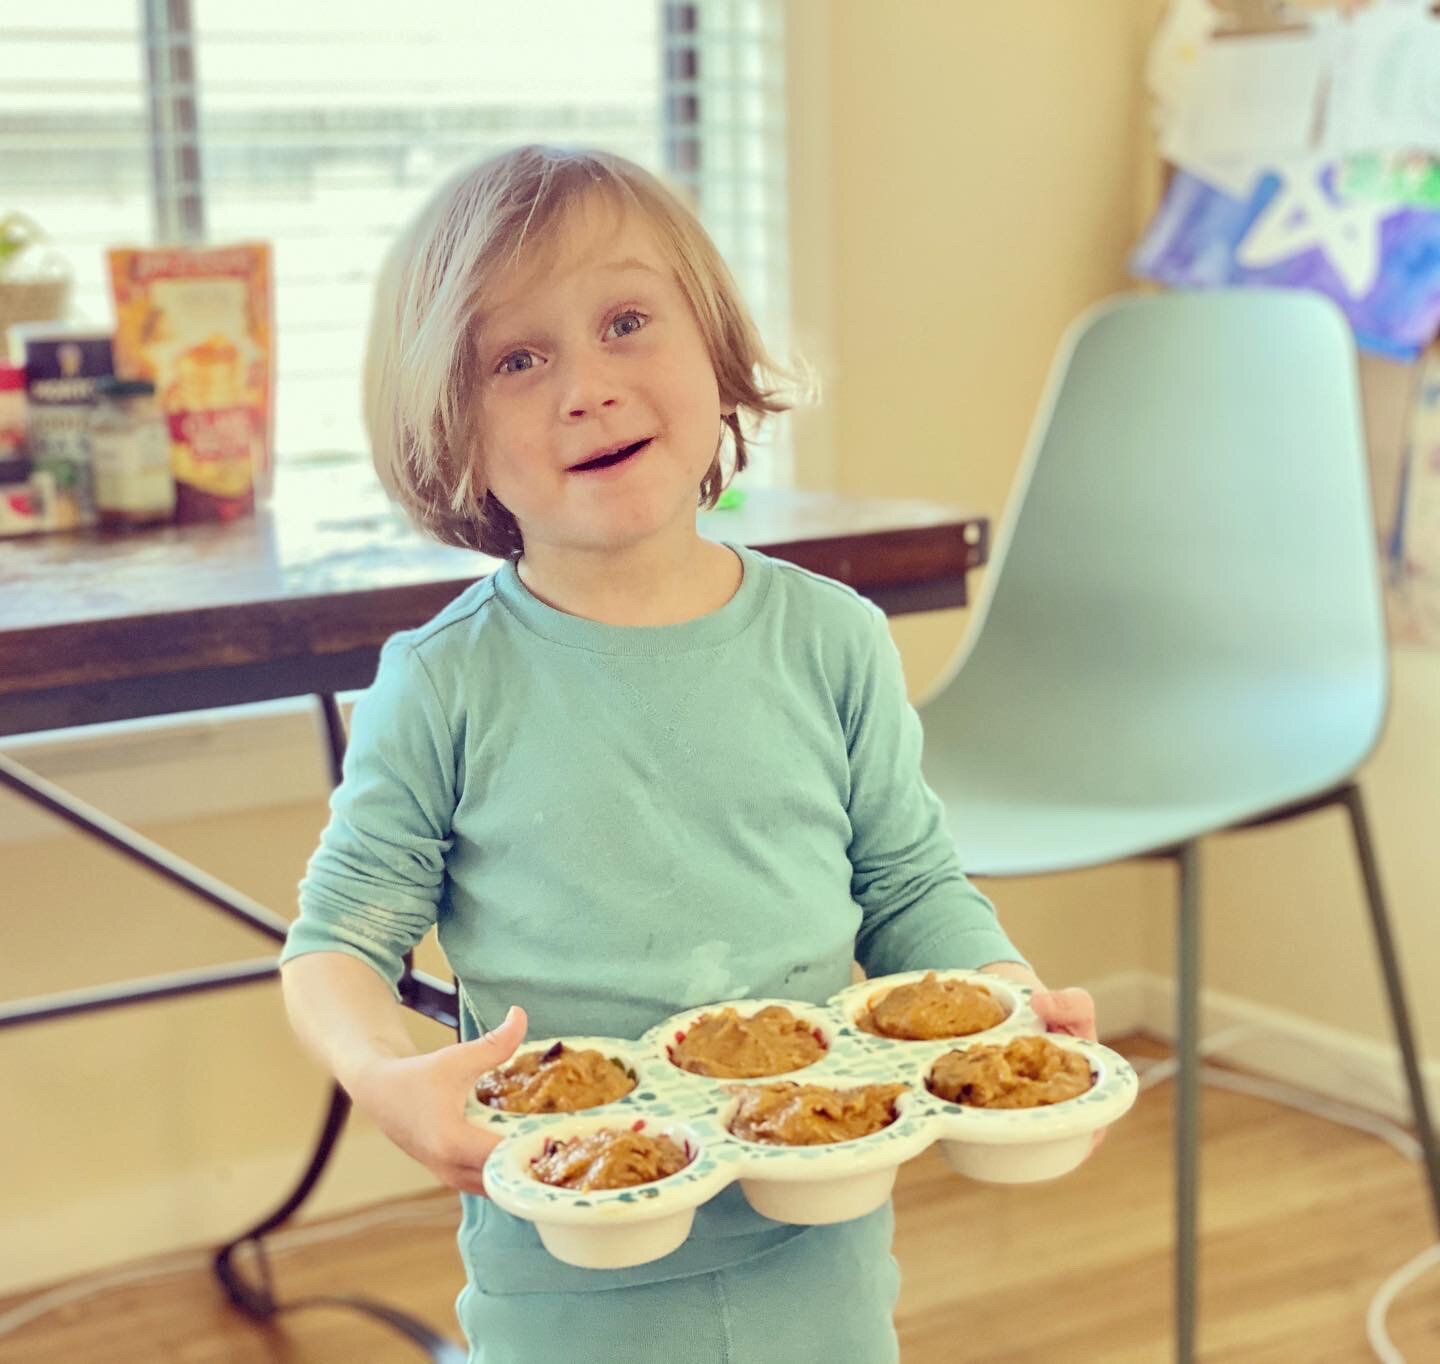
Vegan Chocolate Chip Pumpkin Muffins.

Allergy-friendly pumpkin muffins
Vegan Chocolate Chip Pumpkin Muffins
vegan pumpkin muffins

Warning: They are filled with all the pumpkin-spice goodness of the season, and you’re going to want to eat the entire batch fresh out of the oven!

Vegan Chocolate Chip Pumpkin Muffins

1 3/4 cup of Birch Benders Pancake & Waffle Mix: Classic Recipe (Contains wheat, so these muffins are NOT gluten-free)

2 teaspoons of ground cinnamon

1/4 teaspoon of ground nutmeg

1/4 teaspoon of ground cloves

1/4 teaspoon of ground ginger

3/4 cup of granulated sugar

1/2 cup of brown sugar

1 can of pumpkin puree

1/2 cup of vegetable oil

1/4 cup of milk alternative (We use Ripple, a plant-based milk, but check labels to see what’s safe for your situation)

2/3 cup of chocolate chips (We love the Enjoy Life! brand. Really, I can’t say enough great things about it.)


Instructions

Mix the dry ingredients together. Mix the wet ingredients together (including the pumpkin puree). Stir the wet ingredients into the dry ingredients. Add in the chocolate chips. Bake on 350°F for 25 to 30 minutes.

Let cool and enjoy!

Most Importantly, bring on the fun!

Do your best to give your food-allergic child positive experiences with food. Make your time together in the kitchen memorable and fun. Laugh, be silly, sing. Make a mess. Clean it up. Make up your own recipes. Try new flavors. Enjoy your foods together! Have a candlelit dinner or a tea party. Share your baked goodies with a neighbor. Enjoy the aromas and flavors of the season, and go make those special childhood memories! Build your little one’s confidence and independence all at the same time.

Happy fall, y’all!

Montessori Homeschooling: A New Chapter in Our Story

Montessori Homeschooling

Montessori homeschooling.

After 5 years in the classroom—doing what I love and loving what I do—we are taking a giant leap of faith and making a huge change for our family. It’s not a change that I saw coming, at least not yet...

Oliver has been in school or daycare consistently since he was 2.5 months old. We were so fortunate that the Montessori school I worked at when he was born had an infant program—“ il nido” meaning “the nest.” He was the smallest baby in the class when he joined, and I remember all to well the emotional struggle that I felt as I dropped him off in the mornings, only to walk just across the hallway to teach in the elementary classroom. Those postpartum days are no joke!

Oliver under the munari mobile. This is one of the earliest photos I have of Oliver in the Montessori nido. He was almost 3.5 months old in this photo.

Oliver under the munari mobile. This is one of the earliest photos I have of Oliver in the Montessori nido. He was almost 3.5 months old in this photo.

And here is Oliver in the nido about 8 months later. He was walking and climbing all over the place by this point!

And here is Oliver in the nido about 8 months later. He was walking and climbing all over the place by this point!

Fast-forward to today, Oliver is 3.5 years old, and he just finished his first year in a Montessori children’s house. It was an amazing experience for him, and—for me—it was an absolute DREAM to be able to watch him in action every single day as he made friends, played outside, and worked with joy in his classroom. I will forever cherish his time in the children’s house. I have abundant gratitude for the patient and thoughtful teachers and guides who cared for him each day.

Oliver’s face when I picked him up from his first half-day in the Montessori children’s house.

Oliver’s face when I picked him up from his first half-day in the Montessori children’s house.

Oliver’s very first visit in the Montessori Children’s house. He looked at and touched everything in the classroom, but was most interested in Lily the Gecko.

Oliver’s very first visit in the Montessori Children’s house. He looked at and touched everything in the classroom, but was most interested in Lily the Gecko.

And still, I’ve been aching to spend more quality time with Oliver. While we revel in our weekend family adventures and I try my best to give Oliver my full attention from the time we get home from school in the evenings to the time he goes to bed 3 hours later, it just doesn’t feel like enough.

When my husband and I talk about the dreams and vision we have for our family, the main themes always seem to be flexibility and time. So when we were faced with making a choice about our next steps in life, we found ourselves considering homeschooling Oliver.

This was a huge decision and one that I wrestled with for most of this past year. Being a Montessori teacher is such fulfilling work. Each day I have the great privilege of guiding these amazing children along the path to becoming lifelong learners. I get to help them find the JOY in learning! When I see that they have an interest, I do my best to keep them curious and engaged. I get to help them bring to life the ideas that have formed in their minds! Montessori education is truly meaningful work. It is my great passion in life…

This crew loved learning about Shakespeare! Not only did they make timelines of his life, but they also performed a short version of “A Midsummer Night’s Dream.”

This crew loved learning about Shakespeare! Not only did they make timelines of his life, but they also performed a short version of “A Midsummer Night’s Dream.”

The entire class worked together to create this huge diorama showing the layers of the rainforest—complete with a living canopy and a translucent river flowing through the forest floor.

The entire class worked together to create this huge diorama showing the layers of the rainforest—complete with a living canopy and a translucent river flowing through the forest floor.

A book club formed to read Little House in the Big Woods. They made apple pomanders, baked pioneer bread, and even cooked their own beef stew!

A book club formed to read Little House in the Big Woods. They made apple pomanders, baked pioneer bread, and even cooked their own beef stew!

These friends got to spend an afternoon painting outside while experimenting with shadow art and the geometric solids.

These friends got to spend an afternoon painting outside while experimenting with shadow art and the geometric solids.

For follow-up to a circle lesson about measuring the radius and the diameter, this group made a pretty fantastic mobile by creating circles of different sizes.

For follow-up to a circle lesson about measuring the radius and the diameter, this group made a pretty fantastic mobile by creating circles of different sizes.

And these guys baked apple pies on Pi Day after learning how to calculate the circumference of a circle!

And these guys baked apple pies on Pi Day after learning how to calculate the circumference of a circle!

Another book club formed to read The Invention of Hugo Cabret, which was a hit. When they finished reading the book, the group celebrated by making a classic French dessert: crème brûlée!

Another book club formed to read The Invention of Hugo Cabret, which was a hit. When they finished reading the book, the group celebrated by making a classic French dessert: crème brûlée!

I’m absolutely going to miss my time with these incredible humans, and I’m going to miss the big work that happens in the elementary classroom. At least, for now.

Taking the trail less traveled is scary and exciting all at the same time. On one hand, I’m eager to prepare our “classroom” environment (i.e. our living room), and I’m already knee-deep in planning the shelf-works and activities that I think will benefit Oliver most. He will have the space and time that he needs for self-construction—the time to create, to explore, and to experiment. We’ll also have the opportunity to spend a huge portion of our days exploring the great outdoors. Childhood really just doesn’t get any better than that!

big climbing tree
Baker Beach.jpg

I’m also ready to embark on a slower lifestyle. I’m tired of rushing. Part of parenting the Montessori way means giving your little one time to do things independently. It’s hard to provide that for my own child when we are rushing out the door every morning so that I can be in the classroom by 7:30 am.  

Homeschooling will free us from life’s hustle and bustle. It will offer a more flexible schedule so that we can sleep when we need to, take time to recover when we are sick, and have the ability to travel more often.

And to guide Oliver along that path of finding joy in his learning—that’s really my “why.” That’s what it’s all about.

watercolor painting with primary colors
IMG_3627.jpg
Montessori sensorial

On the other hand, there are also real moments of self-doubt and uncertainty—doubt in my ability to guide Oliver toward concentration and focus; concern that he just isn’t going to get enough opportunities to socialize with other children his age; the list goes on.

As I write this, we’re a week into our homeschooling adventure. And I’ll be honest—so far, it hasn’t been all sunshine and roses. In fact, much of it has been sheer frustration—activities that were met with no interest, nap time refusals, and have I mentioned that Oliver has a seemingly unlimited supply of energy?!

dragon boy

And just when the frustrations, the self-doubt, and the uncertainty were looming heavy over my head, this happened:

We were nearing the end of our morning work time. Oliver was hungry for a snack, so I immediately got out a bowl full of fresh strawberries, a small cutting board, and a crinkle cutter. I showed him how to chop the leafy tops off of the strawberries. After I saw that he could do this successfully on his own, I walked away to let him concentrate on his new work.

Practical life - cutting strawberries

I lit my new eucalyptus & mint candle (thanks, Aarti!) and turned on the new album by Rising Appalachia. Oliver’s hands were busy; his hunger was satisfied; and he was absolutely mesmerized by this music–the harmonies, the rhythms. He loved it as much as I did.

strawberries in the morning

I plopped down onto the sofa, breathed out an exhausted sigh of relief, and basked in this moment—knowing that we are going to be just fine…

Follow along as I document our Montessori homeschooling adventures! Sign up for my newsletter below, and follow me on Instagram @a_montessori_story.